Static vs. Agitation: Which Bloom Technique Works Best
By Kai Nakamura • 15th Feb
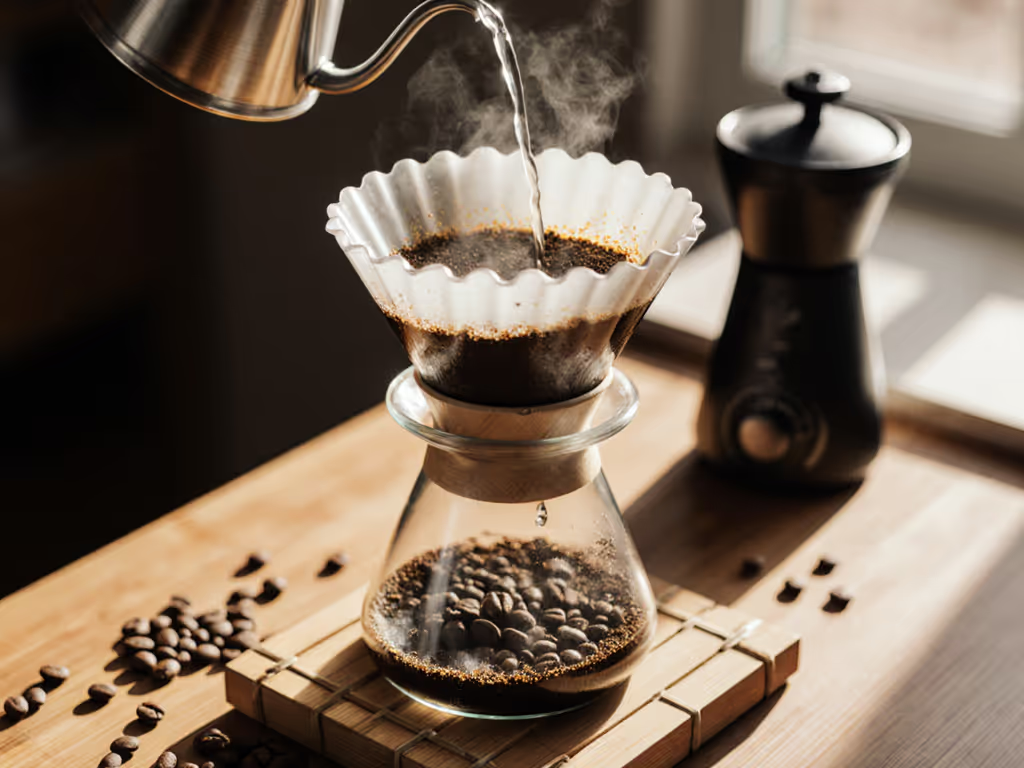
The bloom is where your technique choice matters most. You pour hot water onto fresh grounds, carbon dioxide escapes, and the grounds swell. What happens next (stirring, swirling, or nothing at all) determines extraction clarity and repeatability. If you've watched online tutorials, you've seen conflicting advice: some baristas swirl aggressively, others leave the slurry untouched. Both claim the superior cup. The confusion stems from a real problem: both methods can work, but they work differently depending on your dose, your water, and your dripper geometry. Control the variable you can taste. For a deeper dive into how extraction variables interact, see our pour-over extraction science guide.
The Case for Static Bloom
A static bloom (pouring water and waiting without agitation) delivers repeatability on weekdays because it removes a variable. You pour your bloom water, then step back and wait for 30 to 45 seconds.[1][2]
The advantage is straightforward: fewer moving parts. Your hand doesn't matter. Your stir speed doesn't drift between brews. On a 15g dose with standard tap water (150-180 ppm hardness, typical for urban areas), a motionless bloom offers a bright, fruity cup with a clean, dry finish.[4] The result is predictable. It's the approach many World Brewers Cup finalists now adopt, moving away from a distinct bloom phase altogether in favor of multiple smaller pours (essentially reimagining the bloom as part of a pulse-pouring sequence rather than a single static soak).[1]
The trade-off: static bloom relies entirely on water percolation and gravity. Gas escapes on its own timeline, and the coffee bed settles unaided. If your grounds are coarse or your water flow is sluggish, dry pockets can form under the surface, leading to channeling during the main pour (water finding the path of least resistance and leaving flavor behind).
The Case for Agitation
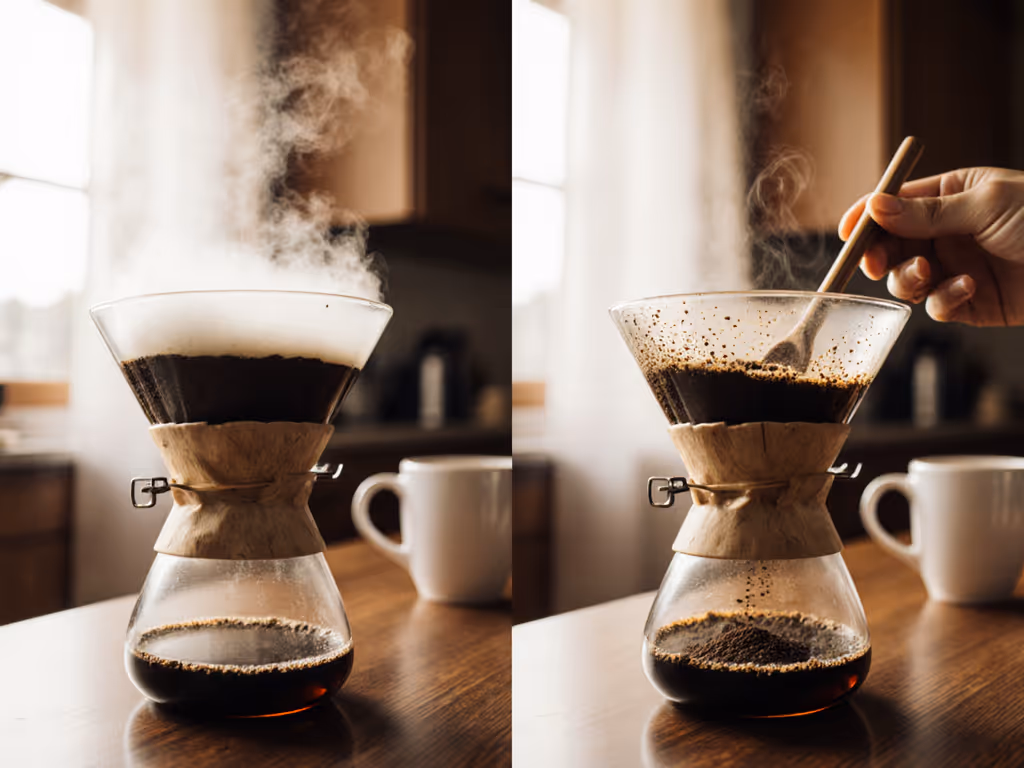
Stirring or swirling the bloom actively moves water through the coffee bed, breaking up clumps and ensuring every particle is contacted. Research from Barista Hustle found that stirring the bloom with a spoon improved overall contact between water and coffee, though it also increased bypass, meaning shorter stir times (10 to 15 seconds) performed better than extended stirring.[1] The mechanism is clear: agitation lifts and separates particles, a principle the Specialty Coffee Association Brewing Handbook emphasizes as foundational to even extraction.[1]
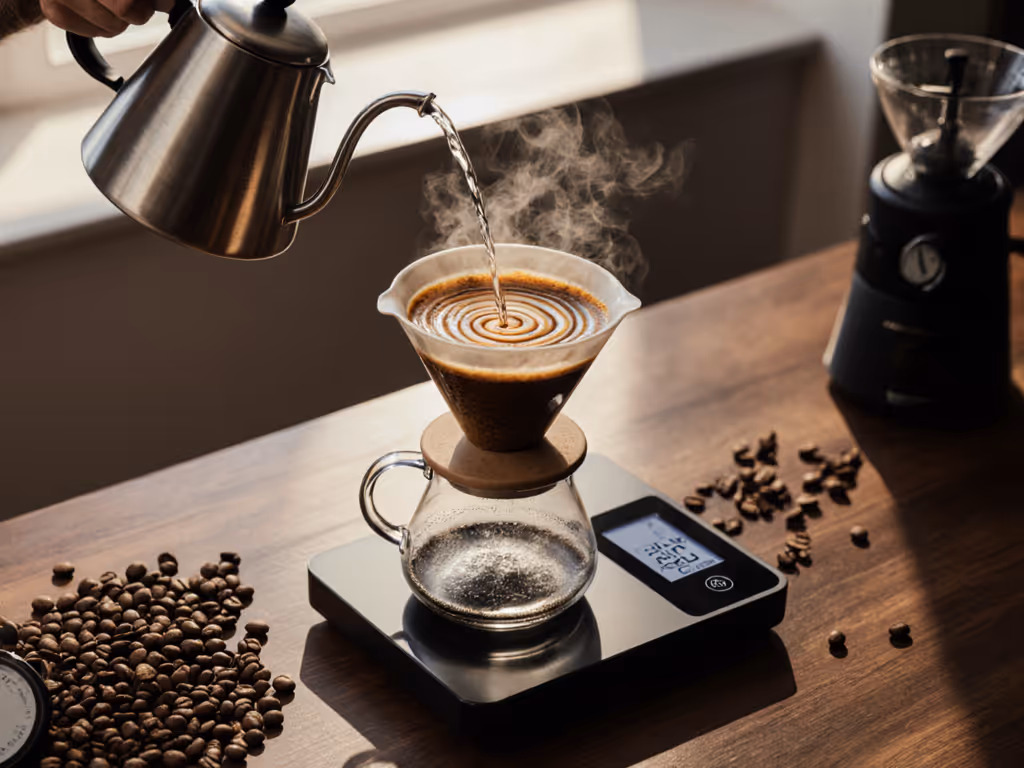
Agitation is especially effective above 18g doses. Below 15g, the gains diminish; a tiny 15g of grounds in a V60 or Chemex doesn't benefit as much from active stirring as a 25g dose does.[1] If you're weighing your coffee and water on a scale (which you should, given that guesswork is now indefensible) and you're dosing 20g or higher, agitation reduces channeling risk. A combination of swirling during the bloom and targeted stirring in areas where the coffee bed bubbles (indicating trapped gas) works well in competition settings and translates to cleaner cups at home.[1]
The downside: your hand is now part of the brew recipe. Stir speed, duration, and force vary between mornings. On a chaotic Tuesday before the commute, your stir pressure might drift. On a Saturday, you have time to be precise. This variance adds noise to your results.
Measuring What Matters: Water and Time
Both static and agitation approaches hinge on bloom water volume and duration. The consensus is strong: use a 2:1 ratio of water weight to coffee weight during the bloom phase.[1][2][3]
- 15g coffee → 30g water
- 20g coffee → 40g water
- 25g coffee → 50g water
Some practitioners and competition baristas scale up to a 3:1 or even 4:1 ratio (45g to 100g water for larger doses) to allow more aggressive CO2 release and better pre-infusion.[1] Larger blooms can lead to clogs or extended brew times if your dripper has a narrow flow path or fine filters; test your specific setup before committing to 4:1.
Duration: stick to 30-45 seconds. This window is wide enough to accommodate variables (water temperature dropping slightly, grind coarseness variance) and narrow enough to prevent over-soaking, which can flatten the cup or cause downstream extraction issues.[1][2][3]
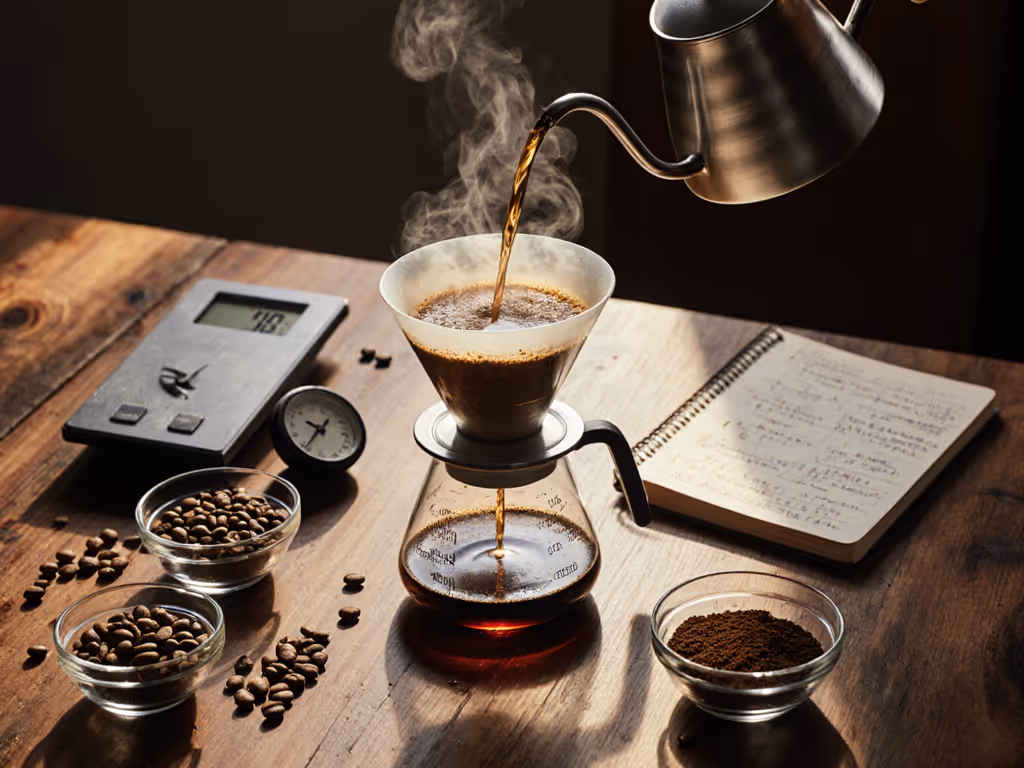
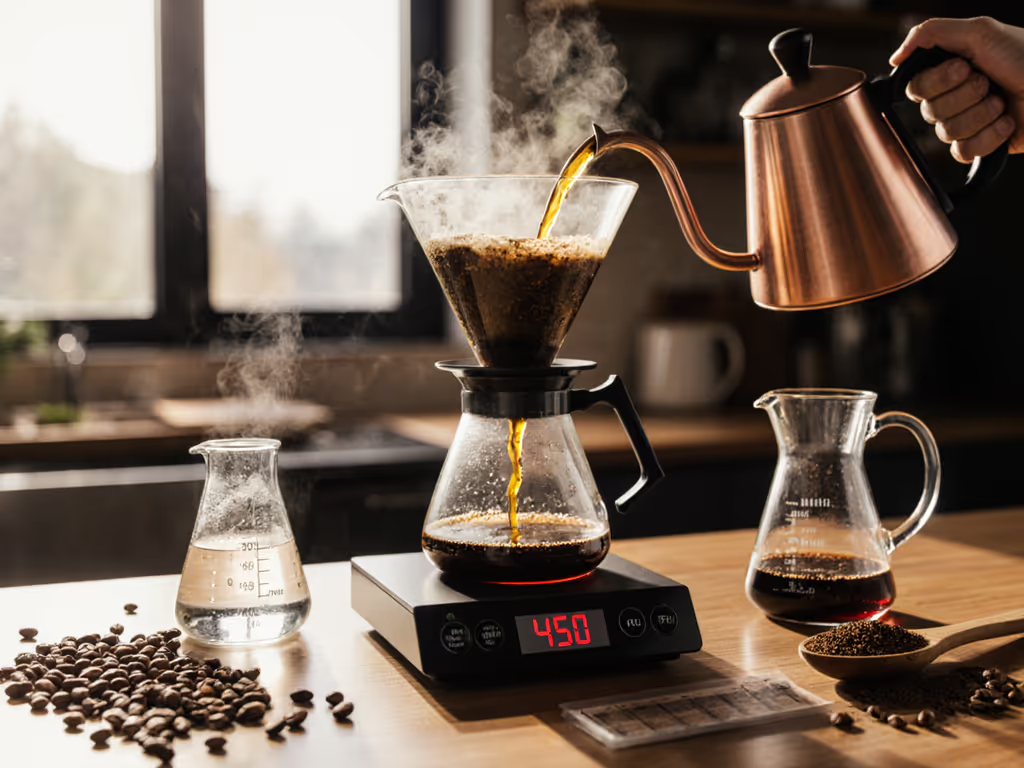
Use a timer. For step-by-step timing and pouring technique, use our pour-over setup guide. The goal is repeatability, not intuition. On a pour over coffee maker with a standard flat-bottom geometry (like a Melitta or plastic drip cone), 30 seconds is often sufficient; on a V60 or Chemex with deeper beds, 40 seconds gives fuller degassing. Log it (grams of bloom water, bloom time, grind setting, water temperature, final brew time) and adjust one variable at a time.
Dose Matters More Than You Think
Small doses (12-15g for a single cup) and large doses (30g+ for a full pot) respond differently to agitation. Barista Hustle's research showed that static bloom vs agitation differences flatten out below 15g; at that scale, the coffee particles are fewer, and water distributes more evenly on its own.[1]
If you're grinding 18-22g for a weekday cup in a standard dripper, agitation (swirl or targeted stir) becomes defensible. You're fighting channeling risk. If you're making a smaller, concentrated pour (a 12g dose pulled into a small cup) static bloom often suffices and removes the execution variable. Measure your typical dose and decide accordingly.
Pre-Infusion as a Continuum
The distinction between "bloom" and "pre-infusion pour over" blurs in practice. At the 2025 World Brewers Cup, all finalists used continuous pulse pouring (multiple small pours rather than a single bloom soak followed by main pours).[1] This approach decouples bloom time from bloom intensity; instead of one aggressive pour and wait, you're adding water in 5 to 8 short pulses over 45-70 seconds total, adjusting the zig-zag pattern or pour point to control agitation.
Pulse pouring offers a middle path between static and aggressive stirring. You're adding water gradually (agitating), but the agitation is distributed and controllable. Your hand position and pour speed remain the variables, but they're now part of a sequenced process rather than a single hand motion. This method is highly technical but also highly repeatable once you lock in your pulse rhythm and volume.
For weekday brewing with mid-tier kettles and burr grinders, pulse pouring sits between the simplicity of static bloom and the precision of stir timing. It's worth exploring if your current recipe feels flat or astringent.
Which Path Matches Your Weekday?
Choosing between static bloom, agitation, or pulse pouring depends on three variables: dose, water chemistry, and your setup's baseline consistency.
Static bloom: Use if your dose is 12-17g, your dripper has uniform flow (fine filters, consistent geometry), and your grind is fine enough that channeling isn't a risk. Minimal hand involvement; easier to repeat under time pressure. Expected cup character: bright, clean, slightly dry finish.
Agitation (swirl/stir): Use if your dose is 18-25g, your grinder produces uneven particle distribution, or your dripper's flow is sluggish. You're compensating for equipment limitations. Agitation improves contact. Expected cup character: fuller body, less astringency, balanced extraction.
Pulse pouring: Use if you want to dial in extraction without changing grind size. Pulse frequency and volume are levers. Takes more attention on a weekday; worth it if your beans are expensive and you want repeatability across different water hardness levels.
Measure your tap water hardness (180 ppm or higher? Scale buildup?). If you need help testing and improving tap water, start with perfect pour-over water. Log three brews with your current method. Then change one thing (try static bloom if you've been stirring, or add a gentle swirl if you've been static). Same grind, same dose, same water amount, same 30-second timer. Taste the difference. If it improves, lock it in. If not, revert. This is how weekday consistency builds: small, measured steps, logged, repeated.
The Single Non-Negotiable
Whether you choose static or agitation, bloom duration must be measured and deliberate. Thirty to 45 seconds is the window. No shorter; the CO2 hasn't fully escaped, and subsequent pours will displace gas and create channeling. No longer; the coffee bed over-saturates and extraction becomes muddy or hollow. A timer (even your phone's) makes this standard. Use a 2:1 water-to-coffee bloom, 30 seconds, then resume pouring. For data-backed bloom timing by roast and bean age, see our bloom phase duration guide. This single variable, controlled, separates reliable cups from frustrating variance.
Next Steps: Testing Your Setup
The best bloom technique is the one that works repeatably with your water, grinder, and dripper. Static works if your equipment is consistent. Agitation works if you're compensating for grinder unevenness or trying to extract more from a coarse grind. Neither is objectively superior; context decides.
Pick one method. Brew three times with identical measurements. Log the brew time, final TDS if you have a refractometer, and taste notes. To measure extraction objectively, follow our TDS for pour-over guide. Then try the alternative method with the same coffee and water. Compare. Repeat the winning method five times to establish a baseline. Once the recipe is locked, you can brew on autopilot, and that's when specialty coffee stops being a morning project and becomes a reliable ritual.
Explore further by testing how your bloom technique choice shifts when you change one variable: a different grind setting, a 10-second shorter bloom, or a 2:1 versus 3:1 bloom ratio. Document the differences. The data will tell you what your palate already suspects: precision and measurement deliver consistency, and consistency is the only flavor that tastes the same every morning.
Related Articles
Brewing Techniques & Coffee Science
Dense Bean Extraction: Control Your Pour Over Variables
24th Apr•7 min read
Brewing Techniques & Coffee Science
High-Sugar Coffee Beans: Pour-Over Extraction Guide
12th Apr•8 min read
Brewing Techniques & Coffee Science
High TDS Water Pour Over: Flow & Extraction Guide
31st Mar•7 min read