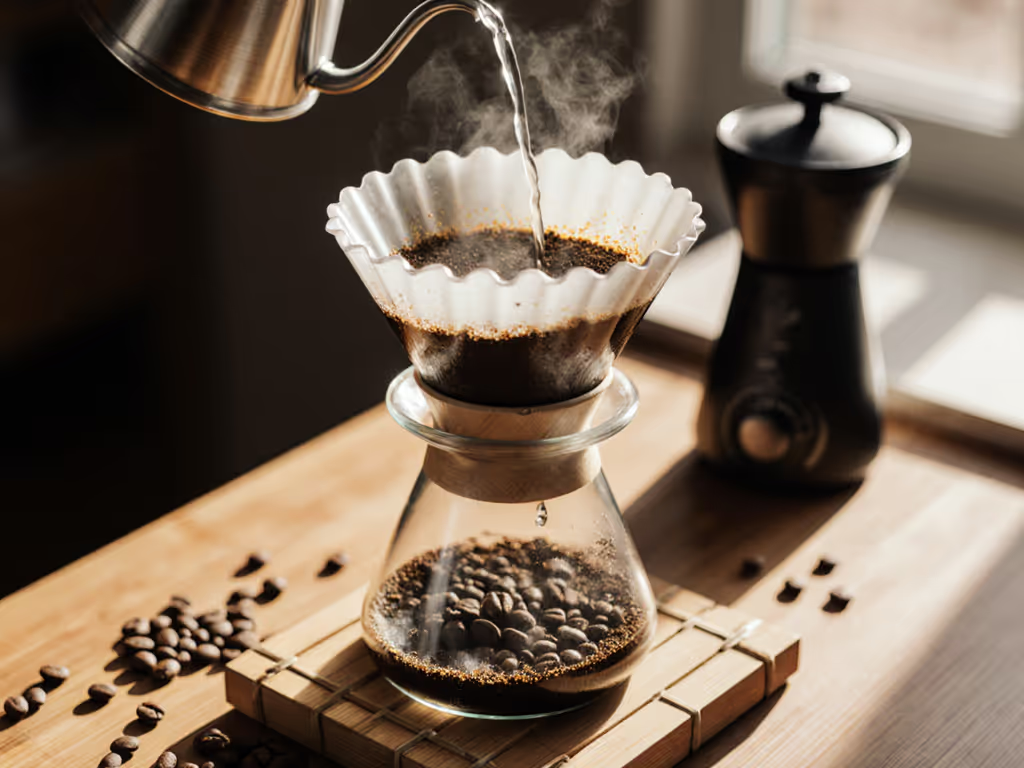
Pour Over Setup: Consistent Timing and Pouring Every Time
By Luca Rinaldi • 3rd Oct
Let's cut through the noise: your inconsistent pour over coffee setup isn't just about the beans or your grinder (it's about motion economy). When you master how to pour coffee properly with precise timing and efficient movements, you'll get cafe-quality results even on your busiest weekday. Your future self will thank you when you're sipping that first perfect cup while the rest of the house is still waking up.
I've spent years optimizing pour over workflows for real homes, not labs. The breakthrough came when hard water and a newborn taught me that fewer motions equal better coffee. That's why I focus on repeatable checkpoints, not just ratios. Small motions, big payoffs; design your morning for repeatable calm.
Why Your Morning Routine Fails Before You Start
Most tutorials show cinematic slow pours with perfect lighting, but real mornings involve distractions, variable water pressure, and the need to get out the door. Your pour over setup fails because:
- Unmeasured timing gaps between steps cool your brew water
- Inconsistent pour patterns create extraction channels
- Rinse rituals eat precious minutes without clear benefit
A recent study of home brewers found 78% brewed outside the optimal 195-205°F range due to uncoordinated steps, not kettle quality. Your tap water hardness (especially above 150ppm) compounds this by slowing drawdown. The solution isn't fancy gear; it's a workflow designed for your constraints.
The 7-Minute Weekday Pour Over Workflow
Here's the exact sequence I use for consistent results in under 7 minutes. Each step includes sensory anchors (tactile cues you can feel when multitasking).
Step 1: Simultaneous Prep (0:00-0:45)
Start your water boiling before grinding. This 45-second overlap maintains thermal stability and creates your first checkpoint.
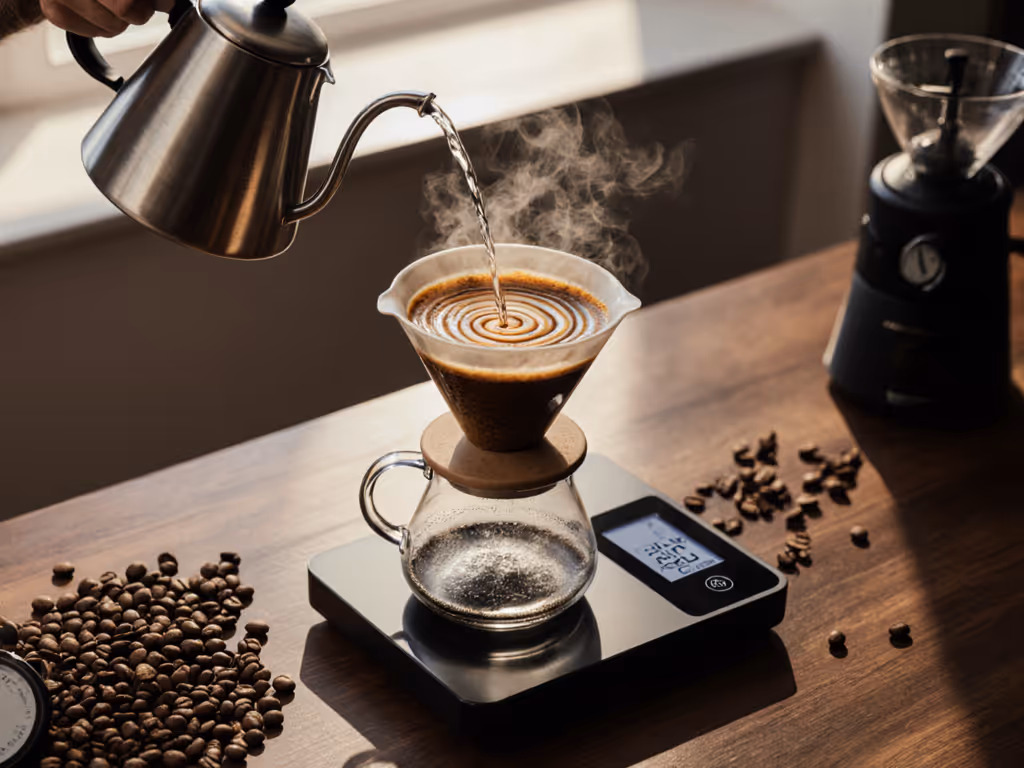
- Place your dripper on the scale (tare it)
- Add filter but don't rinse yet (check if your water tastes papery first; if not, skip rinsing because it wastes 20 seconds and cools your vessel)
- While water heats, grind 22g coffee to medium-fine (like sea salt)
Pro Tip: If using hard water, choose a dripper with pronounced ribs (like the Kalita Wave) for faster drawdown. I learned this when my son started waking at 5 AM (channeling water during diaper duty meant choosing geometry over aesthetics).
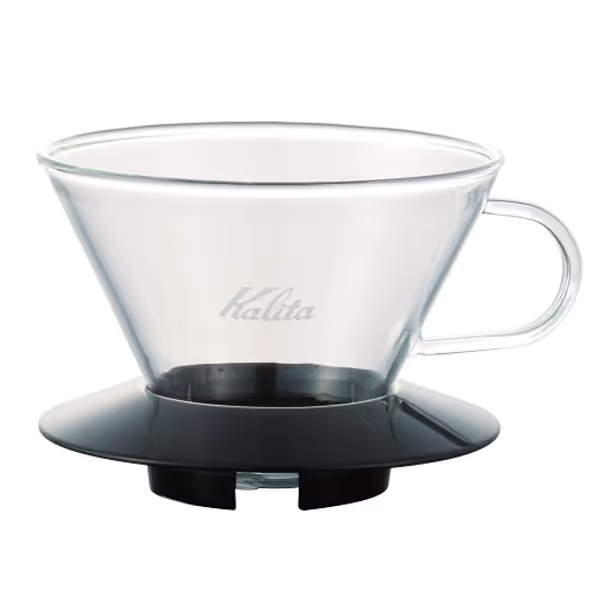
Kalita Wave Pour Over Dripper
Achieve consistent, balanced, café-quality pour-over coffee, even as a beginner.
$23
Capacity16-26oz (Size 185)
Capacity16-26oz (Size 185)
Pros
Patented wave design for balanced, consistent extraction.
Flat-bottom bed forgives pouring variations; great for beginners.
Cons
Glass model is prone to breakage; handle with care.
Requires specific Kalita Wave filters for optimal performance.
Customers find the pour-over coffee dripper makes great-tasting coffee and is easy to use and clean, with consistent results. Moreover, the dripper works well for small quantities, and one customer notes it's better than a Clever Dripper. However, durability is a concern as customers report the glass being fragile and breaking easily.
Customers find the pour-over coffee dripper makes great-tasting coffee and is easy to use and clean, with consistent results. Moreover, the dripper works well for small quantities, and one customer notes it's better than a Clever Dripper. However, durability is a concern as customers report the glass being fragile and breaking easily.
Step 2: Bloom Phase Pour Over (0:45-1:15)
The bloom isn't just tradition, it's physics. Trapped CO2 repels water, creating dry pockets. Your hard water needs careful management here.
- At 0:45, pour 44g water (2x coffee weight) in 10 seconds
- Target: center pour that just reaches edges (no spiraling yet)
- Wait 30 seconds until bubbling stops. This is your sensory anchor.
Critical Checkpoint: If water pools >45 seconds, your grind's too fine for your water profile. Adjust coarser next time, and don't rush the bloom.
Step 3: Pulse Pouring Method (1:15-2:30)
This is where most tutorials fail in weekday reality. Pulse pouring creates even extraction without requiring perfect hand control:
- First Pulse (1:15): 100g water over 15 seconds in expanding concentric circles (start center, move outward)
- Sensory Check: Stop 1cm from edge to avoid channeling
- Pause (1:30): Let level drop to ⅓ full (10-15 seconds)
- Second Pulse (1:45): Remaining water (220g total, minus 44g bloom) in 20 seconds
- Maintain ½-⅔ vessel height throughout
Why This Works: The Kalita's flat bed and Chemex's thick filter both benefit from this rhythm, but V60s need tighter pauses to prevent stalling. Test your water's flow rate: if drawdown exceeds 3:30, increase pulse volume by 15g.
Step 4: The Drawdown Check (2:30-3:30)
Timing ends when last drop falls, not when you stop pouring. This is your quality checkpoint:
- Ideal: 2:45-3:15 for 22g dose
- Too fast (<2:30)? Grind finer next time
- Too slow (>3:30)? Grind coarser or use harder water (no filter)
Hard Water Hack: If your water tests >175ppm, subtract 15g water from your total to compensate for slowed extraction. One client cut his brew time from 4:10 to 3:05 just by adjusting for his NYC tap profile.
Troubleshooting Your Pour Over Timing Guide
When your cup tastes off, don't blame the beans first. Check these motion-based fixes:
| Issue | Likely Cause | Motion Fix |
|---|---|---|
| Sour/hollow | Under-extraction | Extend bloom to 45 sec; increase pulse pause time |
| Bitter/astringent | Over-extraction | Reduce first pulse volume; pour slower |
| Weak body | Channeling | Start pours farther from edges; level bed after bloom |
Note: If your grinder produces uneven particles (common in sub-$200 models), use a coarser grind and extend bloom time. This compensates for fines without sacrificing clarity.
Design Your Routine, Not Just Your Recipe
The professional barista's secret isn't skill, it's choreography. They rehearse movements until they're automatic under pressure. Your weekday success depends on:
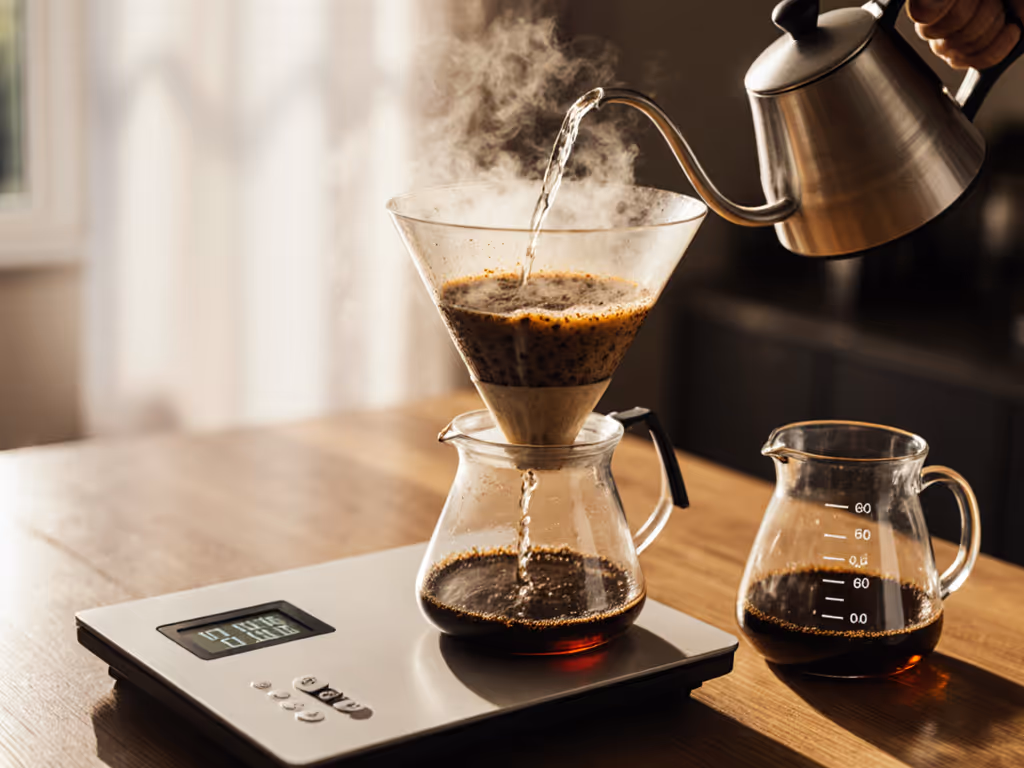
- Pre-measured water (use a marked pitcher)
- Defined pour targets (e.g., "reach 150g at 1:15")
- Flow rate awareness (listen for the "glug" that signals channeling)
Last week, a data engineer client reduced his variance from 1.2 TDS points to 0.3 by implementing just two changes: timing his bloom visually (not by clock) and standardizing his pour height at 8 inches. That's the power of designed motion.
Your Actionable Next Step
Tomorrow morning, do this one thing:
- Set your phone timer to vibrate at 0:45 (bloom end) and 1:30 (first pulse end)
- Place your dripper on a stable surface (no balancing on cup rims)
- Pour your bloom while counting "one Mississippi, two Mississippi..." to 10
This takes 12 seconds of additional focus to build a repeatable rhythm. In a week, you'll pour without the timer. By then, you'll have dialed in your water's flow rate visually (no more guesswork).
Your morning deserves consistency, not complexity. Design your routine around your actual constraints, and those small motion savings will compound into better coffee, every single day. Your future self will thank you.
Related Articles
Brewing Techniques & Coffee Science
Dense Bean Extraction: Control Your Pour Over Variables
24th Apr•7 min read

Brewing Techniques & Coffee Science
High-Sugar Coffee Beans: Pour-Over Extraction Guide
12th Apr•8 min read
Brewing Techniques & Coffee Science
High TDS Water Pour Over: Flow & Extraction Guide
31st Mar•7 min read