Cold Brew Concentrate Pour Over: Ratios & Times
By Kai Nakamura • 3rd Mar
Cold brew concentrate pour over marries two methods: the long soak of immersion brewing with the precision of pour-over extraction, and then dilutes to taste. This FAQ unpacks the ratios, timing, and practical workflow so you dial in a repeatable cup on weekday mornings. For a step-by-step method using standard drippers, see our Cold Brew with Pour Over guide.
Why Use a Cold Brew Concentrate Pour Over Method?
This approach decouples extraction from serving. You brew a concentrated base over 16 to 20 hours (overnight, hands-off), then pour it through a filter the next morning to separate grounds and refine clarity. The concentrate keeps in your fridge for days, ready to dilute fast. That means less active brewing time during your commute window.
The payoff: measured agitation during the second pour reduces fines and sediment in your cup, delivering a texture closer to pourover than mason-jar cold brew. You get control over three variables (initial brew ratio, steeping time, and pour-through filter) instead of betting everything on a single 12 to 24 hour soak.
What Initial Brew Ratio Should I Use?
Start with 1 part coffee to 8 parts water by weight (1:8). That yields roughly 200 g coffee per liter, or scale it: 25 g coffee to 200 g water in a pint-sized container. This ratio is conservative; it avoids over-extraction during the long soak and leaves room to adjust strength by diluting.
Alternative starting points:
- 1:5 ratio (200 g coffee per liter): produces a thicker, more body-forward concentrate; use this if your tap hardness runs high (160+ ppm) or you prefer darker roasts.
- 1:4 ratio (250 g per liter): concentrate-forward; dilute at 2:1 (concentrate-to-water) for a bold cup.
Precision here matters. Weigh your coffee and water, not cups. A kitchen scale (±0.1 g) catches drift; a typical coffee scoop holds 10 to 12 g but varies by roast density.
How Long Should Cold Brew Concentrate Steep?
Brew for 16 to 20 hours in the fridge. I recommend starting at 16 hours and tasting, then adjusting upward if you want deeper notes. This window balances extraction (cold water draws slower than hot) against the risk of over-extraction (coffee grounds can impart rubber-like or woody off-flavors if left too long).
Room-temperature steeping accelerates extraction and shortens the window to 12 to 18 hours, but it introduces microbial risk in warm climates; stick with refrigeration.
What Grind Size Should I Use?
Use medium to coarse grounds, similar to French press texture. Cold water moves slowly through the bed, so finer particles clog the brew and trap water without adding extractable compounds. Coarse grounds leave air gaps for even saturation. For brewer-specific targets and troubleshooting, use our grind size dialing guide.
If your grinder produces uneven particle distribution (common in mid-tier burr sets), sift out excess fines before brewing: line a fine-mesh sieve with a rinsed paper filter, pour grounds through, then discard the fines that collect below. This step takes two minutes and cuts astringency in the final cup.
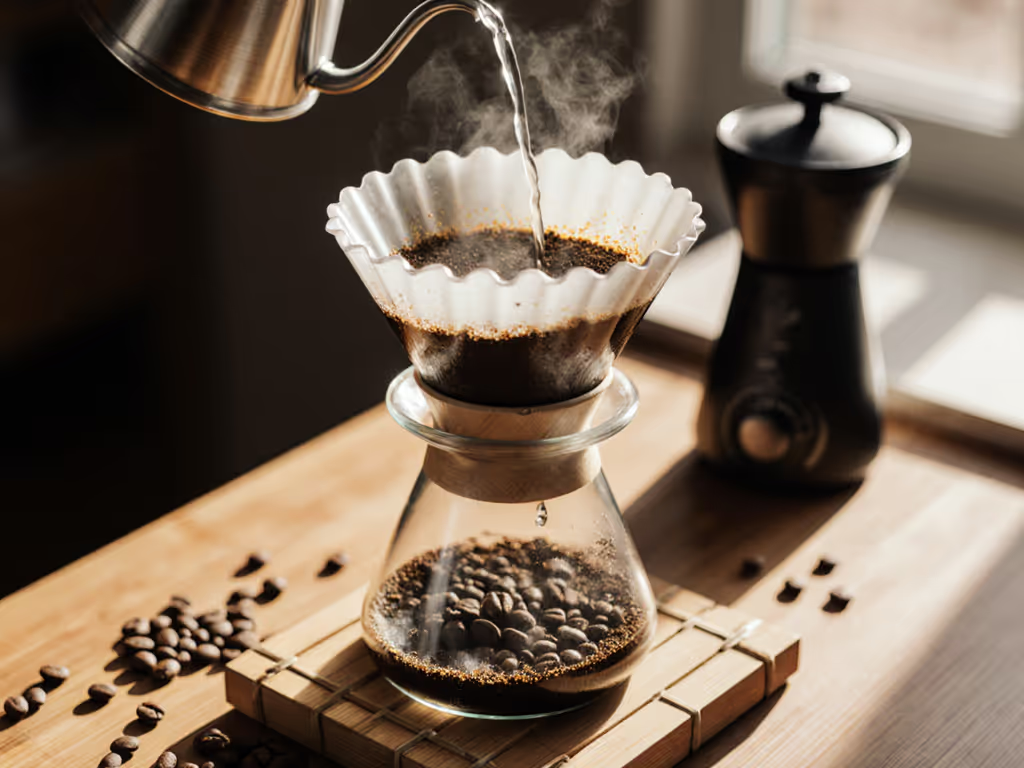
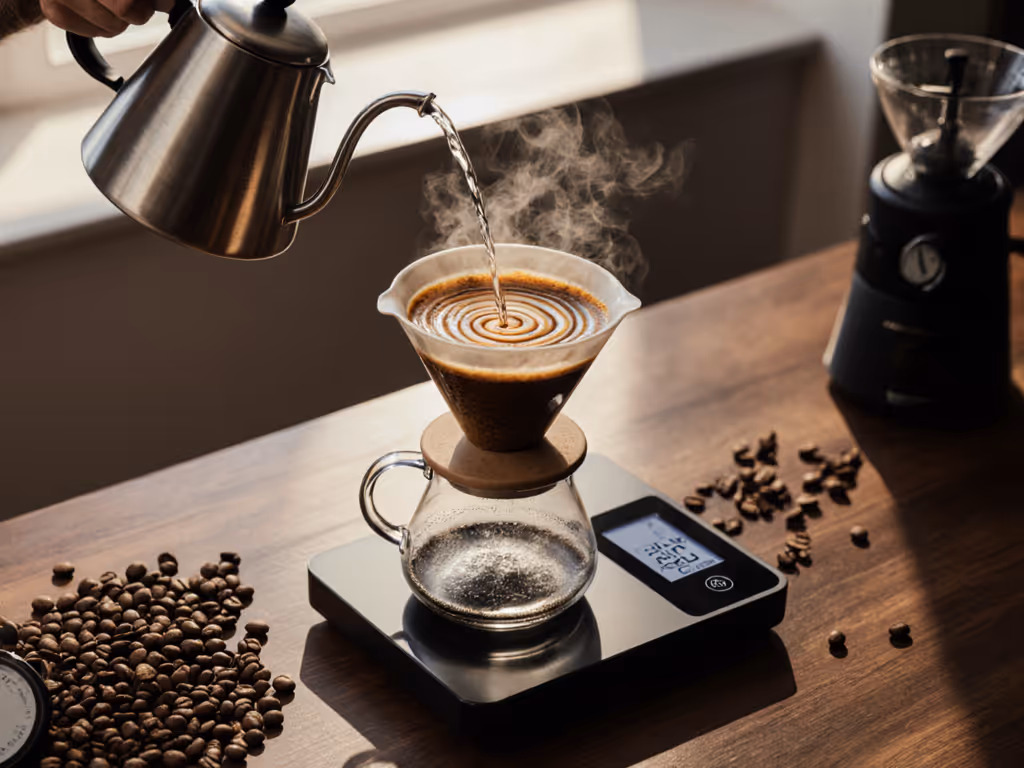
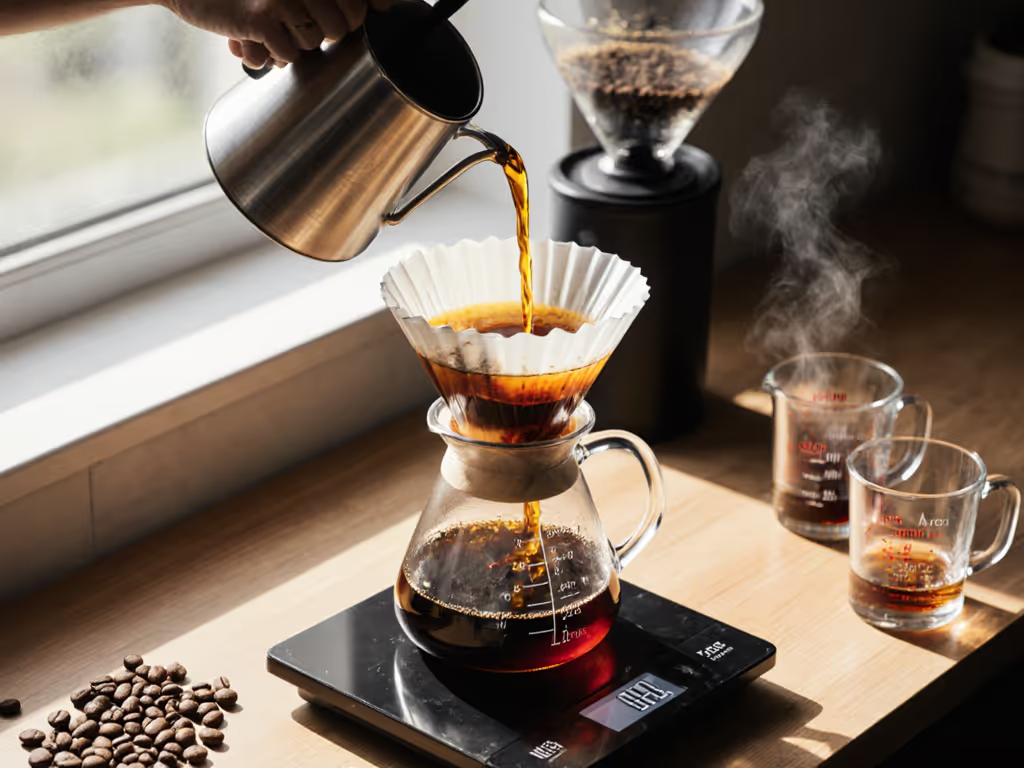
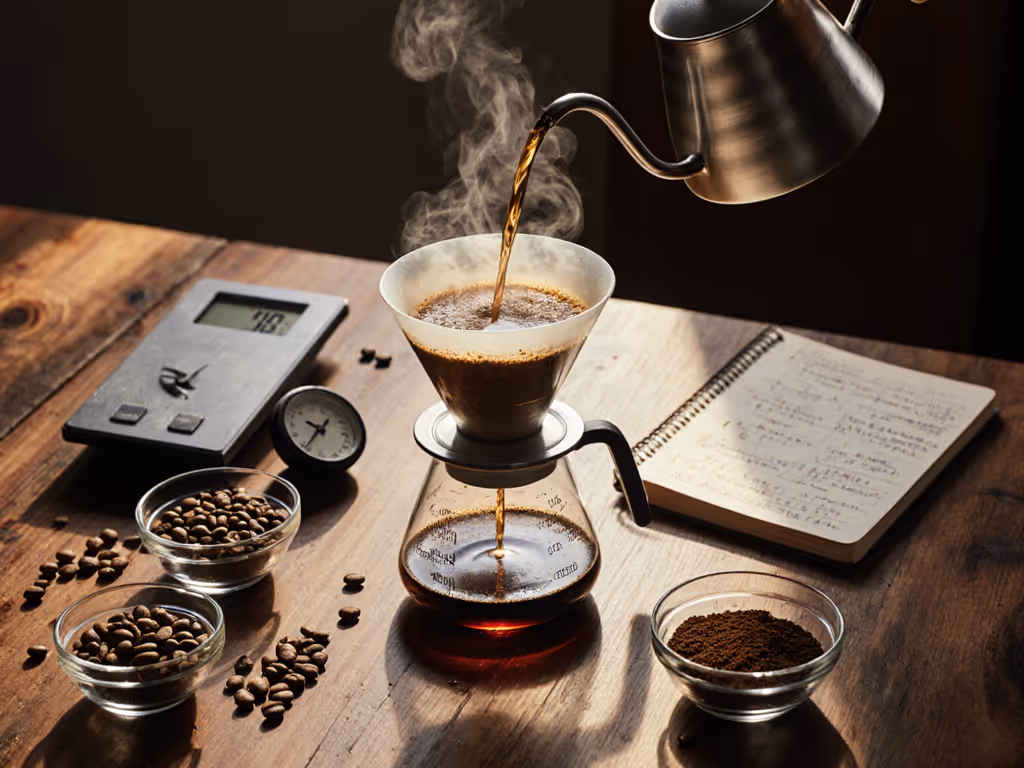
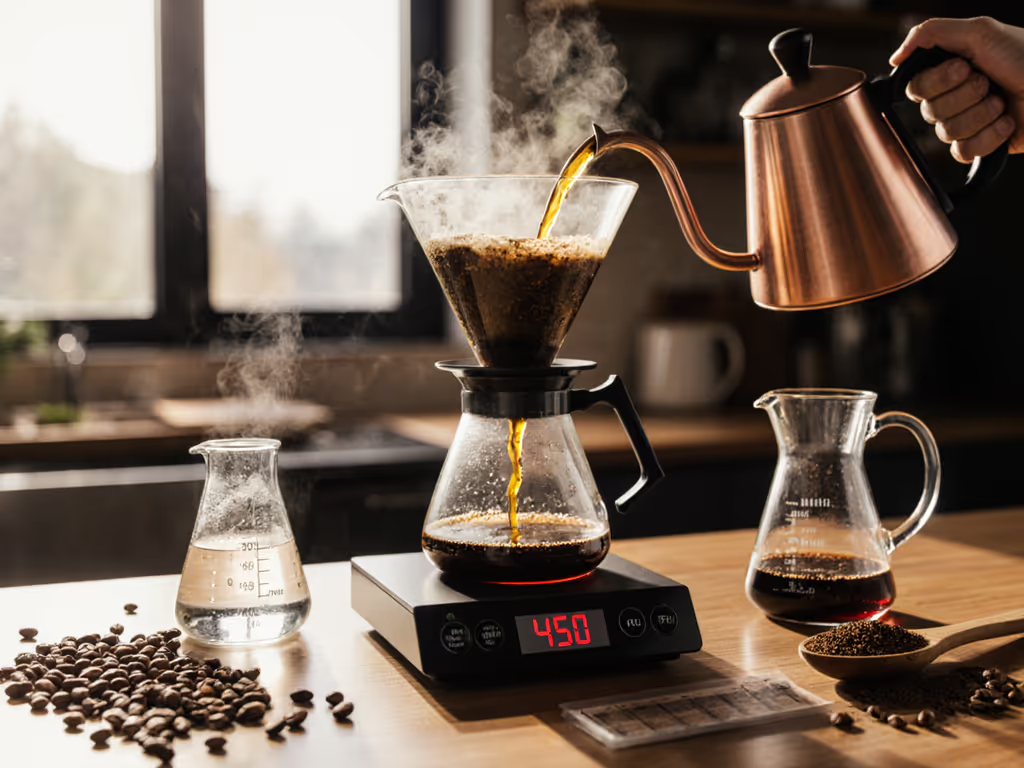
How Do I Pour Through the Concentrate?
Once the 16 to 20 hour steep is complete, you have two filtering options.
French press method: Push the plunger slowly (avoid agitation; you want grounds to settle, not suspend). The plunger leaves fine solids behind, so the concentrate tastes fuller but less refined. For a cleaner result, pour the contents into a standard pour-over dripper lined with a rinsed paper filter and let gravity do the work; this takes 30 to 60 minutes, but you're not pouring. Patience does it.
Direct pour-over: Set up a V60, Melitta, or cone dripper over a vessel. Pour the brewed liquid and grounds through the filter in a single steady pour or two intentional pours (roughly 70 g each if working with 140 g total volume, waiting 1 minute between pours). The second pour acts as a rinse, washing fines off the filter walls. Total time: 5 to 10 minutes.
Key step: wet your paper filter with clean water for 30 seconds before filtering, then discard the rinse. This removes the paper taste that can muddy a clean cup. For clarity vs body trade-offs across filter types, read our paper vs metal filter comparison.
How Do I Dilute the Concentrate?
Dilute with filtered or tap water at one of three ratios:
- 1:1 (concentrate-to-water): strong, smooth, and sweet; the go-to balance.
- 1:2 (concentrate-to-water): less intense; ideal if you prefer a lighter body.
- 2:1 (concentrate-to-water): super-strong; use if your grinder produced under-extraction or you want an assertive cup.
Taste and adjust. Pour a test glass, sip before adding more water. If it tastes harsh or hollow, you may have over-extracted; adjust your next 16-hour brew downward by 1 to 2 hours or drop the initial ratio to 1:10. If it tastes thin or sour, lean toward 1:1 or 2:1 dilution, or use 1:6 on the next steep.
Log these numbers (what ratio, what time, what water profile, what the cup tasted like). On a Tuesday before my commute, I measured our tap hardness at 180 ppm, ground 20 grams on a mid-tier burr, and timed three pours. The plastic flat-bottom won by two points on TDS and by taste: cleaner sweetness, less astringency. I logged it, rinsed fast, and caught my train. Repetition pays.
What's the Full Workflow, Start to Finish?
Evening (5 min):
- Weigh 25 g medium-coarse ground coffee and 200 g cold, filtered water.
- Stir to saturate; ensure no dry pockets.
- Cover and refrigerate.
Next morning (10 min):
- Filter through a dripper or sieved paper filter (5 to 10 min passive; you can prep breakfast).
- Dilute the concentrate 1:1 with water in your serving glass (30 seconds).
- Drink or add ice.
Total active time: under 7 minutes on the morning you serve it. The concentrate lasts 3 to 5 days refrigerated, so one evening batch covers three commute days.
How Does Tap Water Hardness Affect the Concentrate?
Hard water (calcium and magnesium above 150 ppm) extracts faster because minerals buffer pH and speed diffusion. If your tap hardness runs high, use 1:10 or 1:12 ratio to avoid over-extraction, or shorten the steep to 14 hours and taste.
Soft water (below 50 ppm) extracts slower; you may need the full 20 hours or a 1:5 ratio to hit target sweetness. Filter your tap water if you can (Brita, PUR, or a pitcher filter costs $30 and lasts three months). Check your local water report online; most utilities publish hardness data. For simple fixes and mineral targets, see our pour-over water quality guide.
Control the variable you can taste. Test your water once, then match your ratios to it and stop second-guessing the pour.
When Should I Try Cold Brew Concentrate Pour Over vs. Standard Cold Brew?
Use standard immersion (20 to 48 hour soak in a jar, no filtering) if you want maximum body and don't mind sediment, or if you're traveling and can't filter mid-trip.
Use concentrate pour-over if you want clarity, faster service, and flexibility (concentrate lasts days; you filter à la carte). It also reduces waste: you filter exactly what you'll drink, not a full liter at once.
Neither is objectively superior; it depends on your water, your grinder, and how much time you want to spend morning-of.
What If My Cup Tastes Flat or Muddy?
Flat or muddy usually signals over-extraction or excess fines. On your next batch:
- Reduce the initial steep by 2 hours (try 14 to 16 instead of 16 to 20).
- Sift your grounds through a fine-mesh sieve before brewing to remove particles smaller than 0.5 mm.
- Ensure your paper filter is rinsed and your pour is even; slow channels leave stagnant pockets that over-extract.
If it tastes sour or thin, you've under-extracted: increase the steep to 18 to 20 hours, or dilute the concentrate at 2:1 instead of 1:1. Taste, adjust one variable, and log the result.
Next Steps
Begin with a 1:8 ratio, 16-hour steep, and 1:1 dilution. Measure your tap hardness (order a test kit online, $15). Over two weeks, adjust one variable at a time (steeping time, then dilution ratio, then grind size), and taste the difference. A notebook or a simple spreadsheet works; you don't need an app.
Once you find your formula, repeat it until it becomes automatic. Cafe flavor comes from controlled variables, not prestige gear. Measure what you can, brew what you know works, and enjoy the calm of a weekday ritual that tastes the same every morning.
Related Articles
Brewing Techniques & Coffee Science
Dense Bean Extraction: Control Your Pour Over Variables
24th Apr•7 min read

Brewing Techniques & Coffee Science
High-Sugar Coffee Beans: Pour-Over Extraction Guide
12th Apr•8 min read
Brewing Techniques & Coffee Science
High TDS Water Pour Over: Flow & Extraction Guide
31st Mar•7 min read