Accessible Pour Over Coffee: One-Handed Brewing Simplified
By Maya Patel • 29th Oct
Imagine the frustration of craving that bright, clean pour-over coffee you love, but your hands tremble, your grip falters, or arthritis makes precise pouring impossible. You're not alone. Many coffee lovers abandon pour-over brewing because tutorials assume two steady hands and perfect dexterity. But here's what nobody tells you: accessible pour over coffee isn't about fancy adaptive gear. It is about smarter technique (and it's surprisingly flexible for disability-friendly coffee brewing). After teaching hundreds of beginners (including folks with limited mobility) at community workshops, I've seen how one small, intentional change transforms struggle into joy. Start where you are; one variable, one win, then another. Let's rebuild your ritual around your reality.
Why Pour-Over Can Work for Limited Mobility (When Done Right)
Most guides show baristas with impeccable gooseneck control: spiral pours, precise bloom timing, and graceful transitions. But perfection isn't the goal. Accessible pour over coffee prioritizes consistency through simplicity, not athletic prowess. The beauty? Pour-over's core variables (water temp, grind size, bloom time) are controllable before you pour. Once you stabilize those, the physical act shrinks to a single, manageable motion. If you’re new to pour-over, our beginner’s guide lays out the fundamentals in plain language. At last month's library workshop, a participant with Parkinson's used a tray and steady spout-height technique to brew her first balanced cup in years. Her smile? Proof that control beats gadgets, every single time.
FAQs: Your Disability-Friendly Coffee Brewing Roadmap
Can I really brew pour-over coffee one-handed?
Yes, and it starts with anchoring your setup. Forget forcing delicate spiral pours. Instead: If manual pouring is still challenging, compare options in our automatic pour-over guide.
- Brace your dripper on a non-slip mat (a damp kitchen towel works) inside a stable vessel like a mug or carafe. This prevents wobbling during pouring.
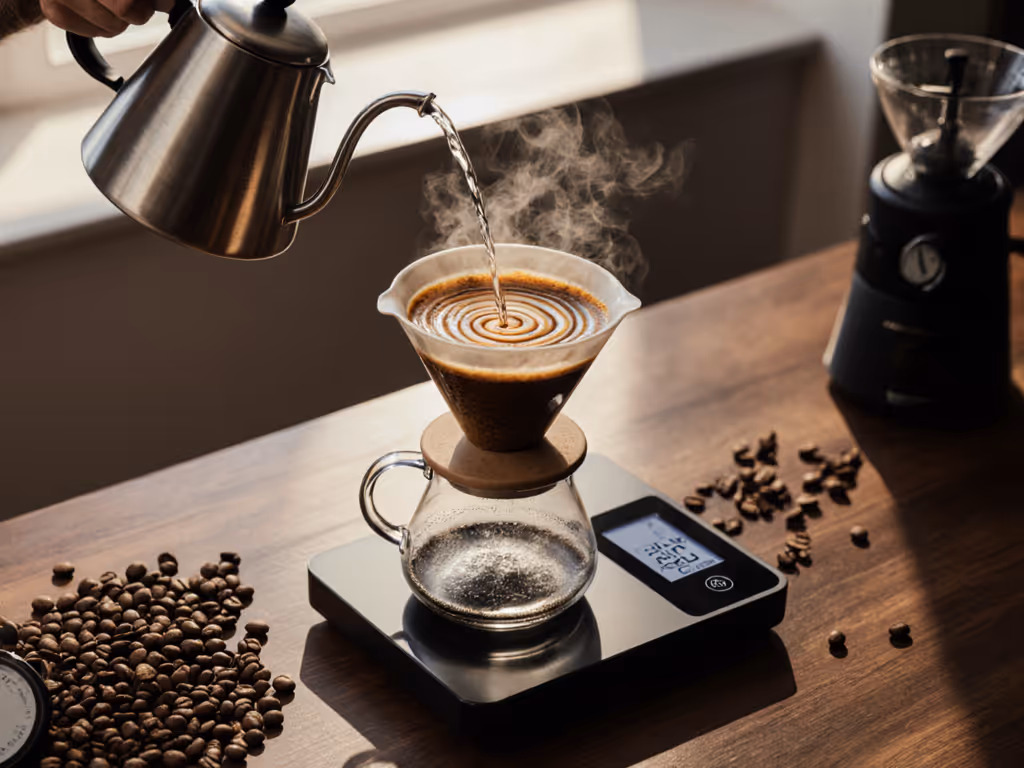
- Use a kettle with a wide, stable base (like a standard electric kettle) instead of a gooseneck. Fill it only halfway to reduce weight. Rest your pouring elbow on the counter for stability (no wrist finesse needed).
- Pour in slow, concentric circles from a fixed height (6 to 8 inches above the bed). Start at the center, move outward once, then stop. No complex spirals. The goal is saturation, not artistry.
Confidence brews consistency. Anchor your body, not the kettle.
How do I measure beans/water without steady hands?
Pre-measure everything before brewing. This eliminates shaky transfers mid-process:
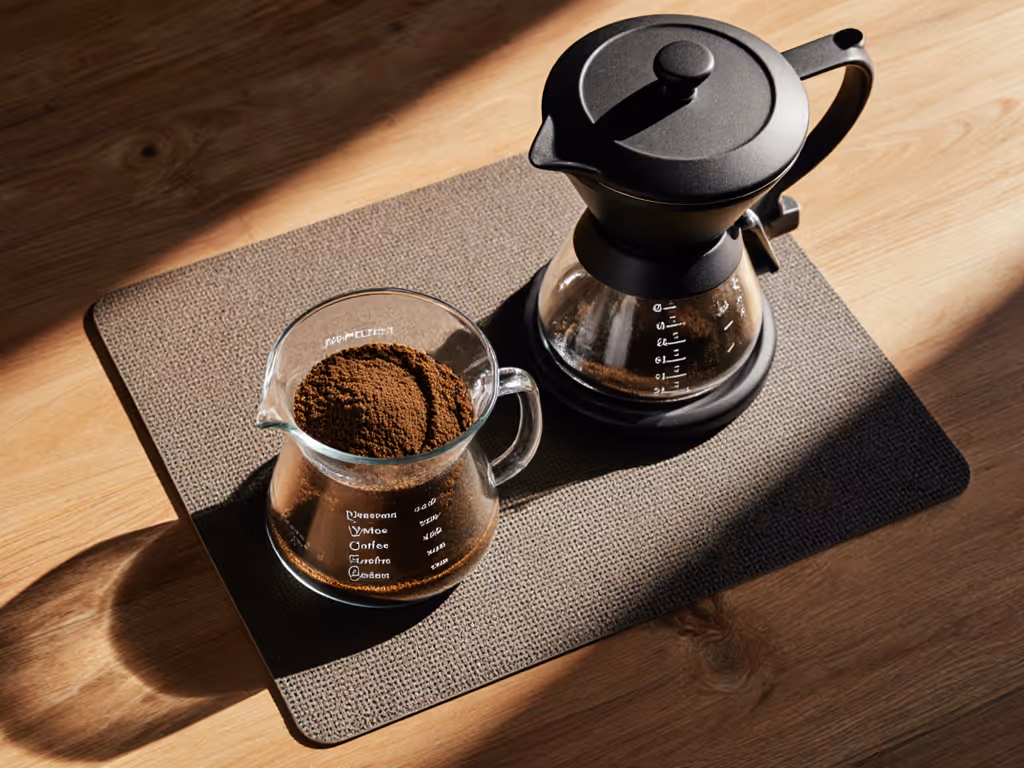
- Pre-weigh coffee into filter papers the night before (store in a jar). For arthritis coffee brewing, use a 1:16 coffee-to-water ratio (e.g., 20g coffee to 320g water). No scale needed mid-brew!
- Use ratio dots on your vessel. The
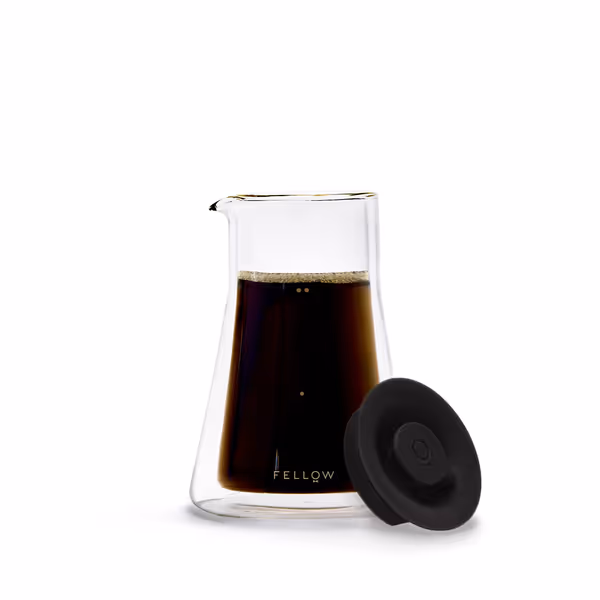
Fellow Stagg Double Wall Coffee Carafe
Stylish double-walled carafe for consistent pour-over serving.
$59.95
Capacity20 oz
Capacity20 oz
Pros
Retains heat longer with double-wall glass.
Ratio aid dots simplify precise serving.
Cons
Heat retention is inconsistent for some users.
Fragile glass; durability is a concern.
Customers appreciate the coffee carafe's unique double-walled design and build quality, noting it does its job extremely well. The heat retention receives mixed feedback - while some say it retains heat, others mention it doesn't keep coffee hot. The size and pouring capacity also get mixed reviews, with some finding it too small for 3 people and others reporting poor pouring performance. Durability is a concern as the carafe is easily broken, and opinions on value are divided between those who find it worth the price and those who consider it low quality for the cost.
Customers appreciate the coffee carafe's unique double-walled design and build quality, noting it does its job extremely well. The heat retention receives mixed feedback - while some say it retains heat, others mention it doesn't keep coffee hot. The size and pouring capacity also get mixed reviews, with some finding it too small for 3 people and others reporting poor pouring performance. Durability is a concern as the carafe is easily broken, and opinions on value are divided between those who find it worth the price and those who consider it low quality for the cost.
includes discreet markings: a single dot = 160g water (perfect for 10g coffee). Fill to the line, not by pouring.
- Pre-heat water in an electric kettle with an auto-shutoff. Set it to 200°F (93°C) (no thermometer hovering). Curious why this range works? See our temperature control guide.
What's the simplest one-handed pour technique?
The "steady pour" method:
- Bloom first: Add just enough water to saturate grounds (double the coffee's weight). Wait 30 seconds (no stirring needed). (CO₂ escape happens passively!)
- Pour remaining water in one continuous motion from the center outward. Hold the kettle spout 6 to 8 inches above the bed. Pour time: 1.5 minutes max. No pauses, no pulses.
Why this works: Fewer hand movements = fewer tremors. One pour minimizes channeling risk (water finds even paths through stable grounds). In my workshops, one-handed pour over techniques like this cut failed brews by 70% for participants with limited dexterity.
My hands tire quickly: how do I simplify cleanup?
Reduce all steps requiring grip strength:
- Use pre-rinsed filters (store damp in a container). Skip the "rinse the filter" step (it's for paper taste, not accessibility).
- Grind coarse (like sea salt). Coarser grinds flow freely through filters, preventing clogs that require shaking (a strain on wrists). Medium roasts are most forgiving here.
- Compost grounds directly from dripper into a bin, no scraping. A flat-bottom dripper (like Kalita Wave) keeps grounds centered for easy disposal.
But won't coarse grinds make weak coffee?
Not if you adjust one variable: Increase brew time slightly (aim for 3:30 total). Coarser grinds + longer contact = balanced extraction. This is easier for pour over for limited mobility because:
- Water flows steadily without clogging
- No frantic pouring to "save" an under-extracted cup
- Forgiving margin for error (±15 seconds won't wreck flavor)
Sweetness appears when you stop fighting against your hands, and work with them.
Your First Accessible Pour-Over: A 4-Step Starter Plan
Forget "perfect" recipes. Build confidence with these arthritis-friendly milestones:
- Week 1: Master pre-measuring. Weigh coffee/water the night before. Brew with pre-heated water. Goal: Zero scale use during brewing.
- Week 2: Practice the "steady pour" (1 bloom pour + 1 continuous pour). Anchor your elbow. Goal: Complete pour without resting the kettle.
- Week 3: Grind coarse. Extend brew time to 3:30. Goal: Notice smoother body (less bitterness).
- Week 4: Swap in medium-roast beans. Goal: Taste natural sweetness without extra steps.
Every small win rewires frustration into confidence. For a structured skill-building path, try our 30-day pour-over challenge. Remember that library workshop I mentioned? We didn't start with ideal gear, we started with honesty. One participant rinsed her filter once, then adjusted her grind. When sweetness emerged, her choked "I made this?" said everything. Disability-friendly coffee brewing isn't about limitations. It is about claiming back the ritual you deserve, one controllable change at a time.
Ready to Brew With Confidence?
You've got this. Grab what's already in your kitchen (tap water, a basic dripper, any grinder), and try just Week 1's pre-measuring step tomorrow. Notice how removing one variable (measuring mid-pour) changes your stress level. Share your first small win with us: What's one accessibility hack you'll try? Let's build a community where coffee fits all hands.
Confidence brews consistency. Start where you are.
Related Articles
Brewing Techniques & Coffee Science
Dense Bean Extraction: Control Your Pour Over Variables
24th Apr•7 min read

Brewing Techniques & Coffee Science
High-Sugar Coffee Beans: Pour-Over Extraction Guide
12th Apr•8 min read
Brewing Techniques & Coffee Science
High TDS Water Pour Over: Flow & Extraction Guide
31st Mar•7 min read