Getting Started (Basics & History)
Nordic Pour Over Calibrated for Weekday Brewing
17th Dec•5 min read
Have you ever wondered why your pour-over coffee carafe produces a brilliant cup one morning and a muddy disappointment the next? You're not alone. The promise of your pour-over coffee setup is simple: pure, clean flavors that highlight your beans' character. But for many beginners, the reality feels frustratingly inconsistent. What if I told you that mastering pour-over isn't about expensive gear or perfect barista skills? It's about understanding one variable at a time and building confidence with each successful brew.
At community workshops I've hosted, we've seen beginners transform their coffee with just one water tweak or a simple grind adjustment. The moment someone realizes control beats gadgets, their whole approach shifts. That's why I'm sharing this straightforward guide (it's everything I wish I knew when starting out), stripped of unnecessary complexity.
The culprit is usually one of three silent variables: your water, grind consistency, or pouring rhythm. Most beginners focus only on coffee-to-water ratios while overlooking that tap water hardness varies by season and location, dramatically affecting extraction. A grinder's output changes as burrs heat up, and unmeasured pours create channeling. Instead of chasing perfect technique immediately, start with just one controllable change (like always using the same water source and measuring your grind time). I recommend this approach because confidence brews consistency.
Your water. Period.
You don't need expensive filtered water or remineralization drops to start. For practical steps to stabilize your water quality, see our pour-over water guide. Most tap water works fine with a simple fridge pitcher filter, no chemistry degree required. The key is using the same water source every time. During a library workshop I taught, we had folks using everything from sink water to grocery store spring water. When everyone switched to using the same water source, even with different grinders and drippers, their cups immediately became more predictable. Start where you are; one variable, one win, then another.
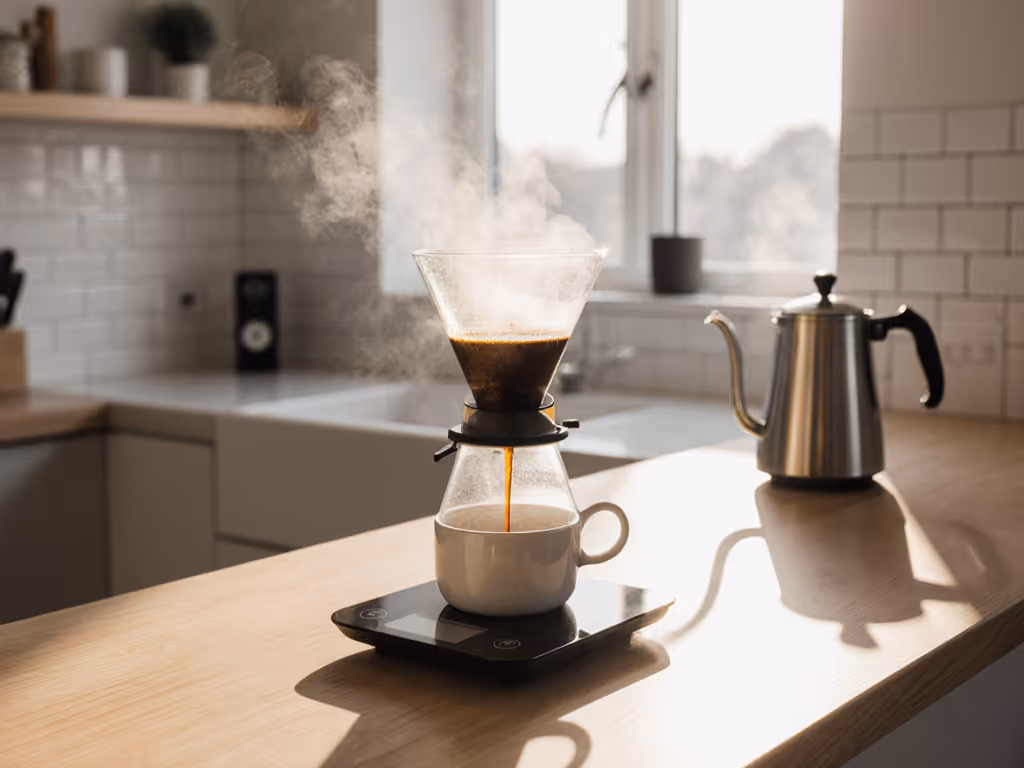
Focus on compatibility and forgiveness. A basic pour-over coffee maker should pair well with your grinder's limitations. For beginners, I recommend cone-shaped drippers like the Melitta 64007 which are remarkably tolerant of uneven grinds. Pair it with standard #4 paper filters (they're cheap and widely available) and a simple gooseneck kettle you already own (or even a precision pour spout on your regular kettle).
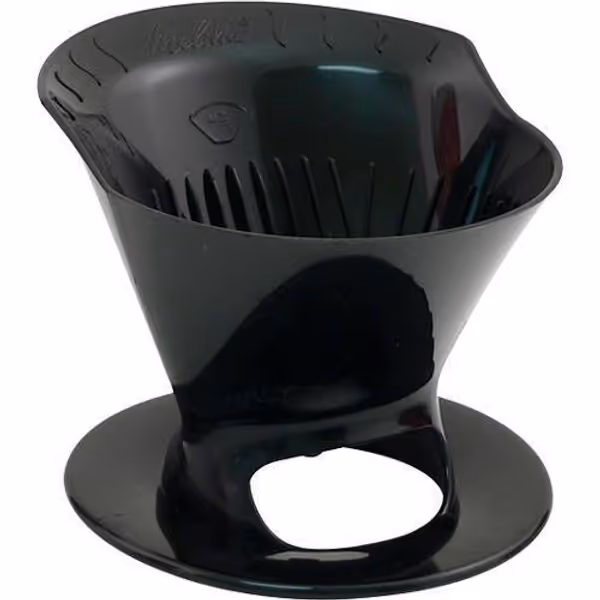
This combination creates a straightforward pour-over coffee set that doesn't require fancy gear. The Melitta's slower drainage gives you more margin for pour error, which is perfect when you're still learning rhythm.
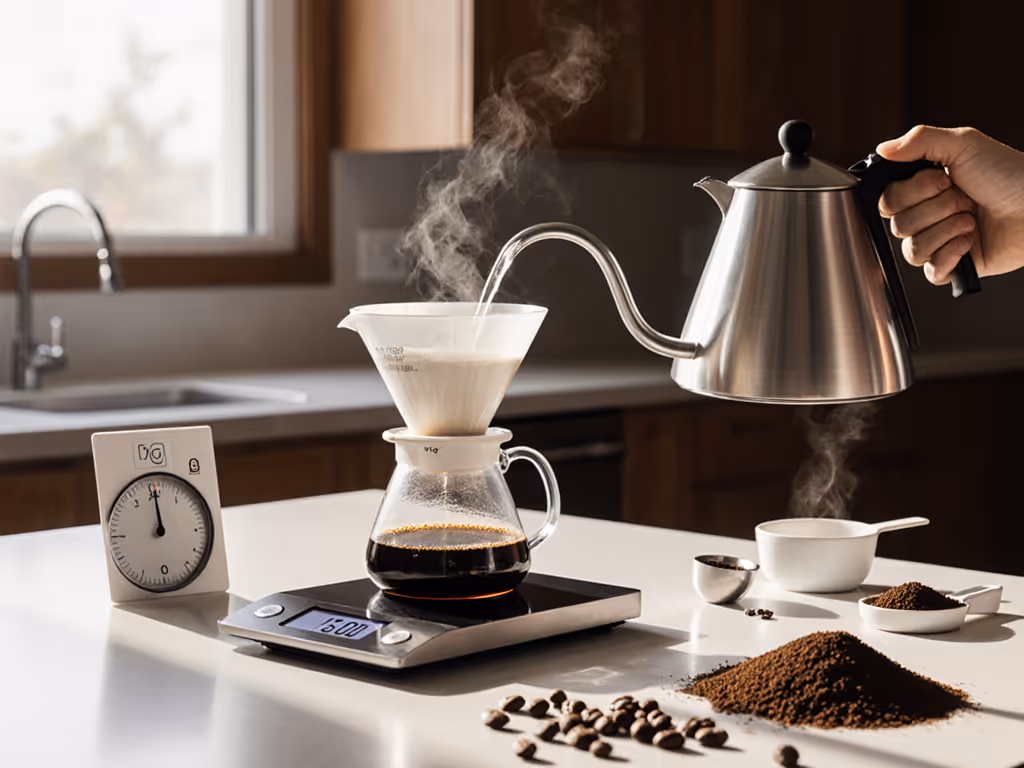
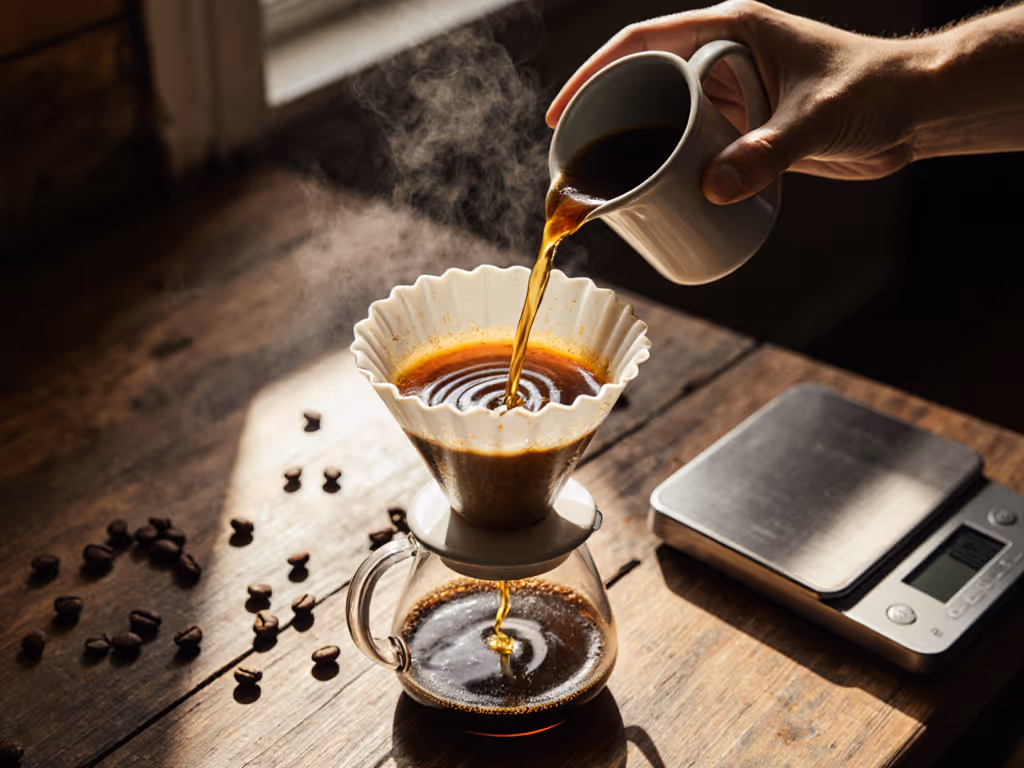
Try this 5-minute framework:
Skip complex pulse pouring at first. Just pour continuously like filling a doughnut shape, leaving a small island in the center. This builds muscle memory faster than intricate techniques. Once this feels automatic, you can experiment with more advanced methods.
Here's your beginner adjustment playbook:
With the V60, the spiral ribs help prevent channeling, making it a forgiving choice when you're still mastering pour technique. Remember, change only one variable at a time so you can actually learn what affects the taste.
Beyond the "cleaner cup" claims, these practical advantages deliver daily value:
The most overlooked benefit? Pour-over teaches you to taste coffee intentionally. When you control every variable, you develop palate awareness that transforms how you experience all coffee, whether at home or in cafes.
Focus on sweetness through proper bloom and steady pouring. Specialty coffee's magic is in its natural sugars, but hard water or rushed blooms mute this. Try this simple test: brew two identical cups, but for one, extend your bloom phase to 45 seconds with gentle agitation. Taste the difference in sweetness. This small change costs nothing but attention, yet dramatically improves most beginner brews.

For water hardness issues, a simple fridge filter often does more than upgrading your dripper. Skip the bottled water debate until you've mastered consistent pouring with your tap water. Most home brewers see bigger improvements from stabilizing their water source than from dripper upgrades.
Pour-over mastery isn't about achieving perfection on day one, it is about building reliable repetitions that reveal coffee's beautiful nuances. The most consistent brewers I know don't have the fanciest gear; they've simply learned which variables matter most for their water and grinder.
Start where you are; one variable, one win, then another.
Want to deepen your understanding of water's role in coffee extraction? I've put together a simple tap water tasting guide that helps you identify your water's strengths and limitations (no chemistry knowledge required). It's the same approach we use in community workshops to help beginners find immediate improvements with their existing setup. Sometimes the most powerful tool in your pour-over kit isn't a fancy dripper, but the ability to taste what's actually in your cup.