Pour Over Thermal Stability: Three Systems Tested
By Kai Nakamura • 28th Apr
Why Temperature Consistency Matters More Than You Think
Your brew fails not because the recipe is wrong, but because the vessel forgets what temperature it held. Thermal stability (the ability of your brewing system to maintain water temperature throughout the entire pour) sits at the intersection of chemistry and physics, and it shapes flavor as reliably as dose or grind.[4] When water cools during contact with grounds, extraction slows, leaving your cup hollow or sour. When heat holds steady, the same ratio of coffee and water yields the same clarity, sweetness, and balance, day after day.
On a Tuesday before my commute, I measured our tap hardness at 180 ppm, ground 20 grams on a mid-tier burr, and timed three pours. The plastic flat-bottom won by two points on TDS and by taste: cleaner sweetness, less astringency. I logged it, rinsed fast, and caught my train. The difference wasn't the dripper's material. It was what the dripper held: steady heat throughout the brew. That consistency is what separates a ritual from a gamble.
What Is Thermal Stability, and Why Does It Affect Extraction?
Thermal stability is the capacity of your brewing vessel to resist heat loss while water moves through coffee grounds. According to the Specialty Coffee Association, your brewing water should remain between 195-205°F (90-96°C) throughout the entire brew.[3][4] This narrow window exists for a reason: temperature governs extraction kinetics. Higher temperatures pull solubles faster; cooler water pulls them slower. If your vessel hemorrhages heat in the first 45 seconds, your bloom extracts unevenly. If it cools again during the main pour, your later stages underextract. The result is a cup that tastes flat, disjointed, or sour, even if your ratio and grind are precise.
The Specialty Coffee Association establishes a clear standard: maintain thermal stability throughout a 2.5 to 4 minute total brew window.[3] Your vessel's mass, material, and geometry determine whether it can honor that range or not.
How Do Dripper Materials Affect Heat Retention?
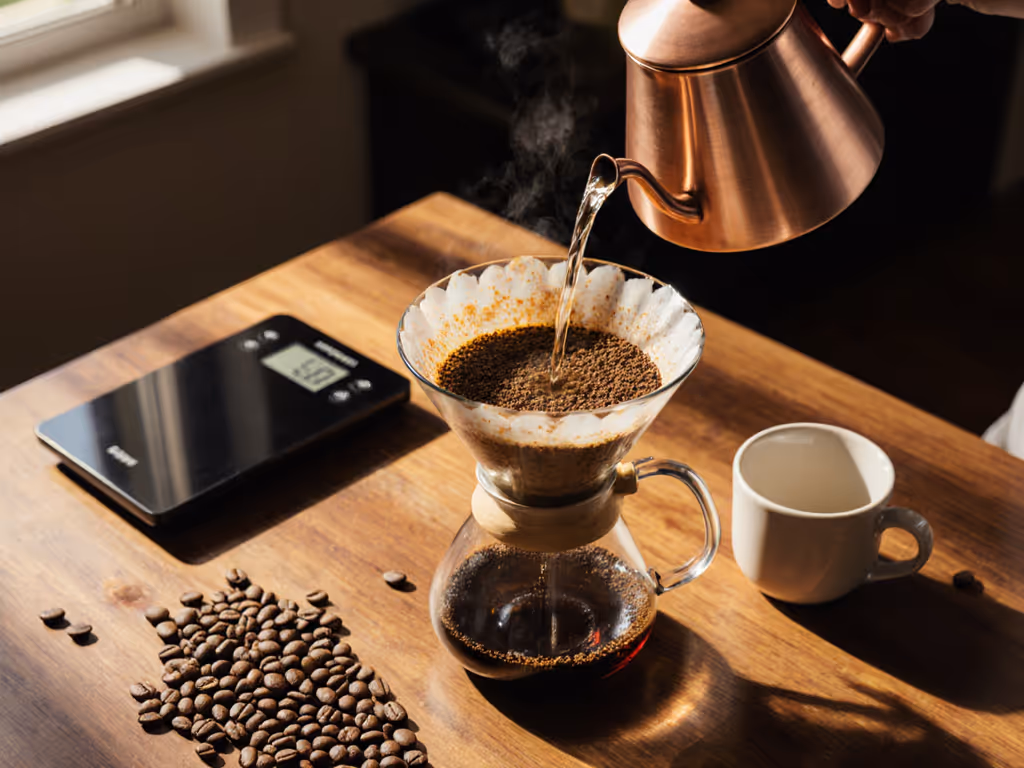
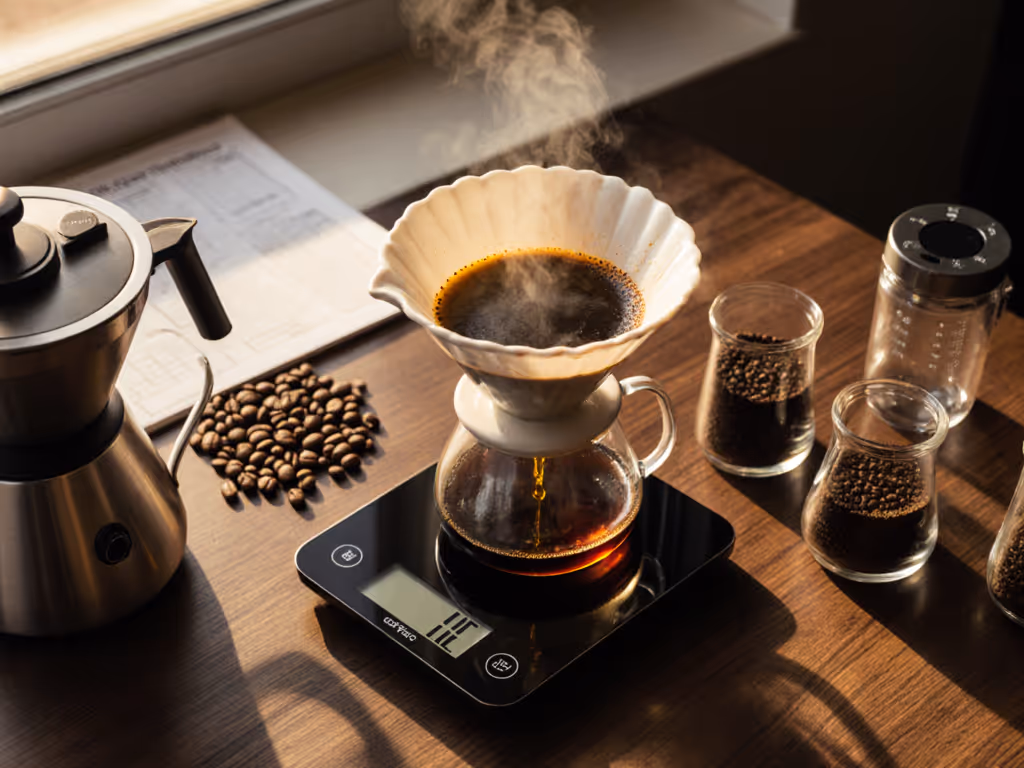
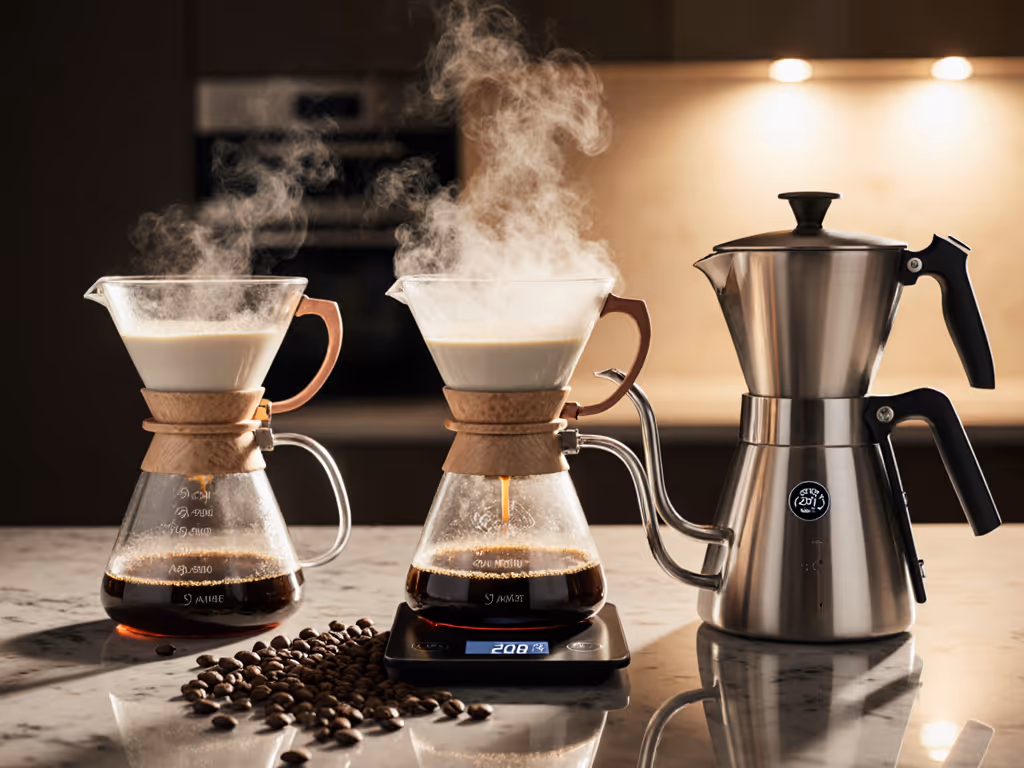
Different dripper materials dissipate heat at different rates. Ceramic drippers (like the Melitta or Kalita) offer moderate thermal mass; they retain warmth reasonably well but require a rinse with hot water beforehand to preheat and minimize thermal shock.[2] Glass drippers (like the Chemex) sacrifice thermal mass for clarity, you watch the brew unfold, but the vessel cools faster because glass conducts heat rapidly and has low mass.[2] Plastic drippers typically have the lowest thermal mass of all, yet some designs (particularly flat-bottom geometry with thicker sidewalls) can hold temperature adequately if preheated and used quickly.
The preheated brewer is not optional. The search results confirm: "A preheated brewer equals a more stable extraction, and better flavor integrity from start to finish."[2] Rinse your dripper with hot water, discard it, and your vessel enters the brew 30-40°F warmer than ambient. That margin matters.
Control the variable you can taste.
What Role Does Dripper Geometry Play in Temperature Management?
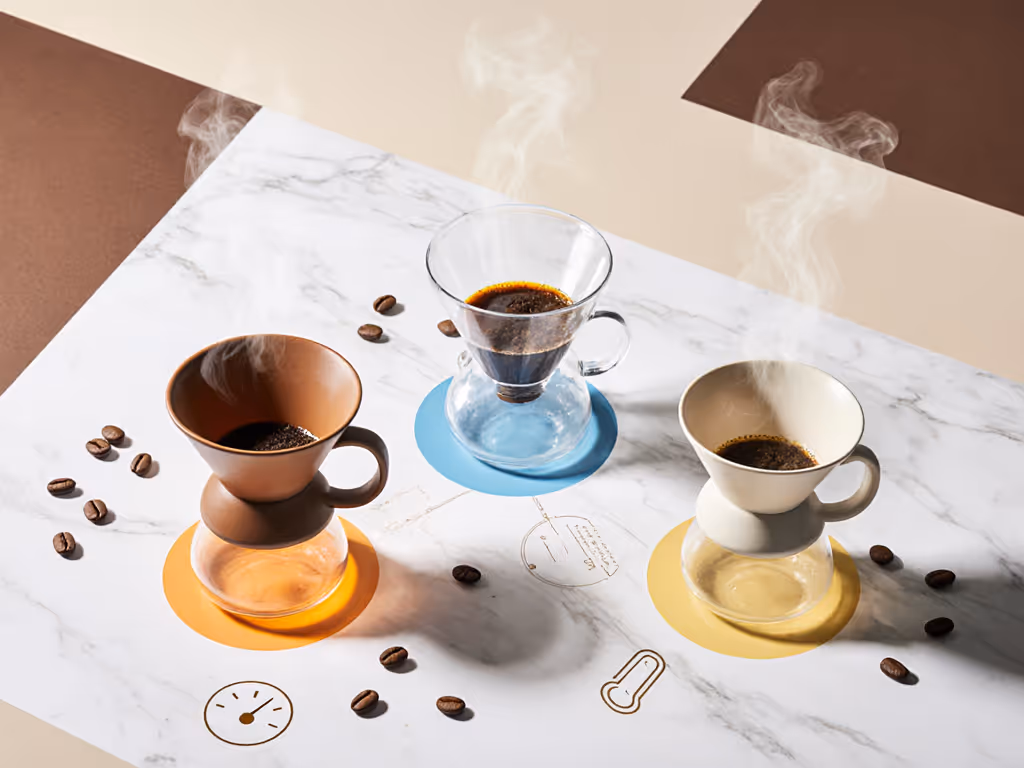
The shape and depth of your dripper dictate how water pools and drains, which indirectly affects how long grounds stay in contact with heat. Shallow, wide drippers (like flat-bottom designs) distribute water across a larger surface area, cooling the water slightly more but ensuring even saturation. Tall, narrow drippers (like cone-shaped V60s or Chemex towers) concentrate water in a smaller footprint, which can create localized hot spots and uneven extraction if your pour isn't deliberate.
Geometry also determines flow dynamics. If you're deciding between designs, see our cone vs flat-bottom comparison for extraction and consistency trade-offs. A flat bed allows gravity to work uniformly; a cone bed creates preferential flow paths. For thermal stability, the flat-bottom geometry is defensible: it keeps water in contact with coffee slightly longer and minimizes turbulent cooling.
The SCA standards account for this implicitly: they recommend "slow, deliberate, ensuring even saturation."[3] Even saturation means predictable contact time, which means predictable temperature profiles and consistent extraction.
Which System Maintains Temperature Best: Preheating, Insulation, or Both?
Three practical approaches emerge from the data:
System 1: Ceramic Dripper + Preheating Rinse
Ceramic holds moderate thermal mass. Pre-rinse with 30-45 seconds of hot water (200°F / 93°C), discard, and your brewer enters the brew warmed.[2] During the brew (3:00-3:30 total minutes), ceramic maintains enough heat for consistent extraction, especially if you pour continuously rather than in scattered pulses.[2] The drawback: ceramic cools faster than metal, so total brew time should not exceed 4 minutes, or mid-brew temperature drops noticeably.
System 2: Glass Dripper with Insulated Sleeve or Preheated Carafe
Glass drippers are elegant but thermally aggressive. If you use a glass dripper directly without preheating or insulation, expect measurable temperature loss by the 2 minute mark.[4] Pairing a glass dripper with an insulated carafe or a neoprene sleeve slows heat loss. Preheating the carafe beneath the dripper is equally critical: a cold carafe absorbs heat from the brewer and the liquid passing through. An insulated carafe (even basic foam-wrapped models) reduces this loss by 15-25%, a meaningful margin over a 3.5 minute brew.
System 3: Flat-Bottom Plastic Dripper + Preheating and Short Brew Window
Plastic drippers have negligible thermal mass, but when preheated and paired with a quick, controlled pour (2.0-2.5 minutes for the main pour), they maintain acceptable stability for a home brewer.[2] The advantage: plastic is durable, cheap, and portable, ideal for travel or weekday repeatability. The trade-off: zero margin for error. If you pause between pours or pour slowly, the plastic cools enough to alter extraction.
How Do Water Temperature and Thermal Stability Interact?
Water temperature and thermal stability are related but distinct. Water temperature is your starting point: 195-205°F.[4] Thermal stability is whether you hold it. Here's the interaction:
- Starting too hot (>205°F) doesn't compensate for poor thermal stability; it just amplifies early over-extraction during the bloom and first pour. The water cools, and you've wasted the aggressive start.
- Starting at the low end (195°F) with excellent thermal stability (preheated ceramic, insulated carafe) beats starting at 205°F with a cold glass dripper. A 3 degree loss is acceptable; a 15 degree loss is not.
- Maintaining a 3°F variance is acceptable and achievable with preheating and appropriate dripper choice.[3] Your vessel's mass and shape determine the realistic variance over 3-4 minutes.
The SCA standard acknowledges this: "Maintain this temperature throughout the pour over process. This is critical."[3] For roast-specific targets and methods to hold them, use our pour-over temperature control guide.
What's the Practical Workflow for Thermal Stability on Weekday Mornings?
Measurement and repeatability require a simple protocol:
- Heat 500g of water to 195-205°F (use a gooseneck kettle with a thermometer; keep it within arm's reach).[3]
- Pre-rinse your dripper with 60-100g of this hot water. Discard immediately. This step takes 20 seconds and is non-negotiable.[2]
- Grind 25-30g of coffee while the dripper sits warm and vacant.[2]
- Dose the grounds, tare your scale, and begin pouring.[2]
- Complete the entire brew (bloom + main pour + drawdown) in 3:00-3:30 (ceramic or preheated plastic) to 3:30-4:00 (glass + insulated carafe).[3]
- Log your total brew time and taste notes (acidity, sweetness, body) once weekly. Adjust one variable next time, grind, pour speed, or dripper, and compare.
Flow first, then grind, then water; log it, repeat it. This sequence minimizes thermal loss because your dripper is warm before water meets coffee.
FAQ: Common Thermal Stability Questions
Q: Does my gooseneck kettle affect thermal stability?
A: Indirectly. A kettle that cools quickly between pours forces you to re-heat or pour cooler water, breaking thermal continuity. A well-insulated kettle (stainless steel, thick-walled) keeps water closer to your target range. More importantly, a gooseneck's controlled spout lets you pour at a steady rate, which maintains consistent contact time and reduces turbulent cooling. For model-by-model data on insulation and pour control, check our gooseneck kettle comparison.
Q: Should I preheat my carafe even if I use an insulated version?
A: Yes, especially if your carafe sits at room temperature. A cold carafe pulls heat from the dripper and the liquid draining into it. A 30 second rinse with hot water from your kettle (before you brew) adds no time to your workflow and reduces temperature loss by approximately 10-12°. Call it insurance.
Q: Does water hardness affect thermal stability?
A: No, but it affects scale buildup, which reduces thermal conductivity in metal kettles and metal-based brewers over time. Descale monthly if your tap hardness exceeds 150 ppm. Scale acts as an insulator, paradoxically reducing heat transfer and making temperature maintenance harder. Keep your vessel clean.
Q: How does bloom temperature compare to main-pour temperature?
A: Both matter equally. A cool bloom (195°F or lower due to poor thermal management) releases fewer volatile compounds and CO2, creating an uneven bed for the main pour. A consistent pre-bloom preheat ensures your first water application activates the coffee uniformly. By the time you reach the main pour, your dripper is still warm enough to sustain extraction across the remaining 2 minutes. If bloom temperature is already 10° cooler than your starting water, you've lost the thermal race before pouring begins.
Q: Can I achieve café-level clarity with a cheap, uninsulated dripper?
A: Yes, if you preheat and brew fast. A $5 plastic dripper, preheated and paired with a 2.5 minute brew window, can deliver TDS and taste scores within 1-2 points of a $40 insulated ceramic brewer, provided your grinder is adequate and your ratio is dialed.[2][3] Thermal stability compensates for equipment cost when protocol is tight. Where you optimize matters less than that you optimize consistently.
Putting It Together: A Thermal Stability Decision Map
For commute-day simplicity (5-7 minutes total, minimal fuss): Use a preheated flat-bottom plastic dripper with a gooseneck kettle. Complete your brew in 2:45-3:00 to stay inside the thermal margin. This is measurable, portable, and forgiving.
For weekend ritual (time available, flavor priority): Use a preheated ceramic dripper with an insulated carafe beneath. Brew time can extend to 3:30-4:00 without thermal loss. This setup rewards slower, more attentive pours.
For clarity and control (data-driven, testing-oriented): Use a ceramic dripper with a digital scale and thermometer. Log water temperature at bloom, main pour, and completion. After three brews, adjust grind or pour rate based on taste, and re-log. Thermal stability plus measurement yields repeatability within one brewing session.
Conclusion: Measure, Control, Repeat
Thermal stability is not glamorous. It has no brand name and no social-media appeal. It is the unglamorous scaffolding upon which café-level flavor rests, and it begins with preheating and ends with finishing your brew before significant heat loss occurs. The Specialty Coffee Association confirms the window: 195-205°F, maintained throughout.[3][4] Your dripper material and geometry determine how easily you hold it. Your protocol (rinse, brew quickly, maintain consistent pour) determines whether you actually do.
If you can measure it, you can repeat it. Start by logging three brews with your current dripper, kettle, and water temperature. Record total brew time, final cup temperature (optional but useful), and taste notes. Preheat your dripper the same way each time. Pour at the same pace. Note whether your cup tastes brighter, sweeter, or cleaner than usual. That difference is thermal stability at work.
Next, test one small change: swap to an insulated carafe, or switch drippers, or adjust your brew time by 15 seconds. Log again. After five brews across two systems or protocols, you'll have data that beats any online recipe or equipment review. That data is yours, calibrated to your water, your grinder, your schedule. That is where mastery begins.
For deeper exploration, consider measuring your tap water hardness (a simple test-strip kit costs $10-15), logging flow rates with a stopwatch, or tracking TDS with a handheld meter. Each variable you measure and log becomes one fewer variable that can surprise you on a Tuesday morning before your commute.
Related Articles