Pour Over Coffee Makers for Kids: Safety & Consistency
By Kai Nakamura • 23rd Feb
A pour-over coffee maker teaches what matters most: measure once, repeat always. Whether you're brewing for yourself at dawn or setting up a family routine that introduces the fundamentals of extraction, repeatability separates reliable cups from frustrating guessing. This guide compares approaches to kid-friendly pour-over brewing, focusing on safety, consistency, and the frameworks that make weekday mornings predictable.
Why Pour-Over for Family Brewing?
Pour-over methods offer a transparency that other brewers obscure. You control the pour rate, the water temperature, the saturation pattern. No timer loop; no heating plate cycling on and off. This mechanical simplicity is precisely why pour-over works well in teaching contexts (the variables are visible). A child watching water bloom and drain through grounds learns, intuitively, what extraction means. An adult logging three timed pours across a mid-tier grinder and a consistent tap hardness discovers which setup delivers clean sweetness versus astringency. Repeatability becomes tactile, not abstract. For step-by-step timing and pouring technique, see our pour-over setup guide for consistent results.
Flow first, then grind, then water; log it, repeat it. That framework holds regardless of age or experience level.[4]
FAQ: Safety, Consistency, and Practical Setup
1. What Safety Features Matter Most in Family Brewing?
Family-oriented pour-over setups require layered protection. The primary concern is hot surfaces and steam (not electricity or complex mechanisms, since most pour-overs are manual and use passive heat).[1] Consider:
- Kettle placement: A gooseneck kettle with a steady handle, stored on a back burner away from child reach and counter edges.
- Dripper positioning: Mount the dripper on a stable mug or carafe, elevated away from table edges where a child might pull it down. A flat-bottomed ceramic or glass dripper sits lower and more securely than a tall cone.
- Cool-touch surfaces: Pour-over drippers themselves cool quickly once water stops flowing, unlike heated plates. However, the mug beneath holds heat. Use mugs with thick walls and ensure adequate clearance around brewing areas.[1]
- Supervision protocol: For children under 8, active supervision during brewing is essential. For school-age children, the ritual becomes a teaching opportunity, they watch, narrate what happens, measure water with you.
Use clear labeling (e.g., "hot until you count to 20") and establish a kitchen safety routine around brewing times.
2. How Do I Ensure Consistent Results with a Pour-Over Maker?
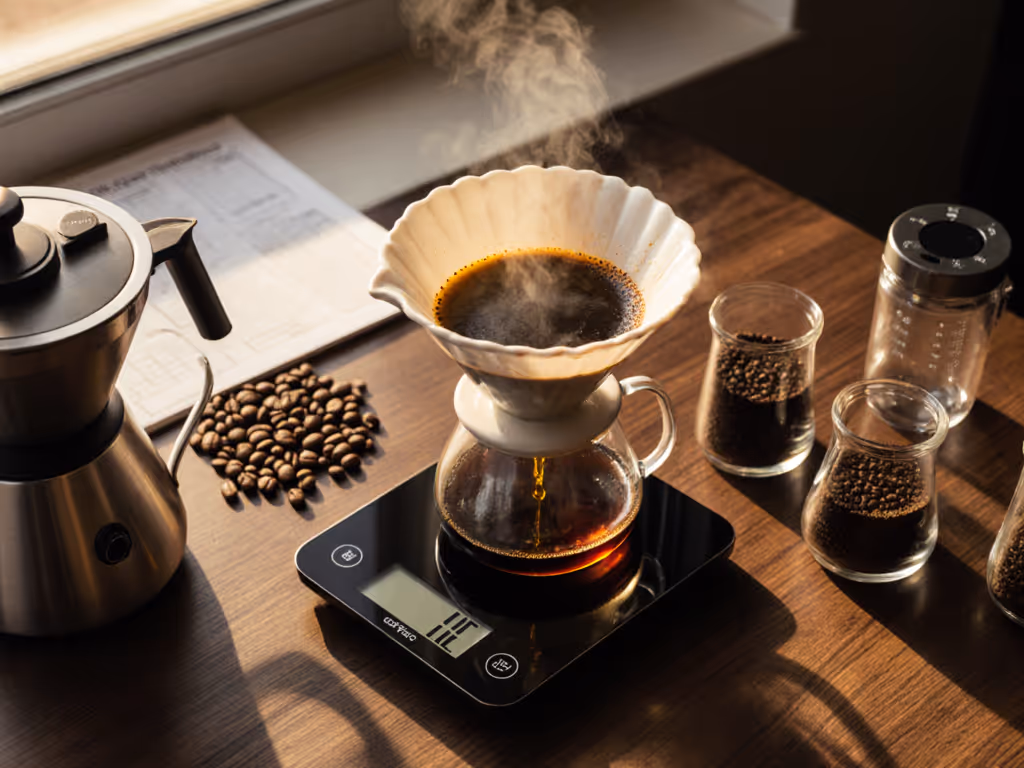
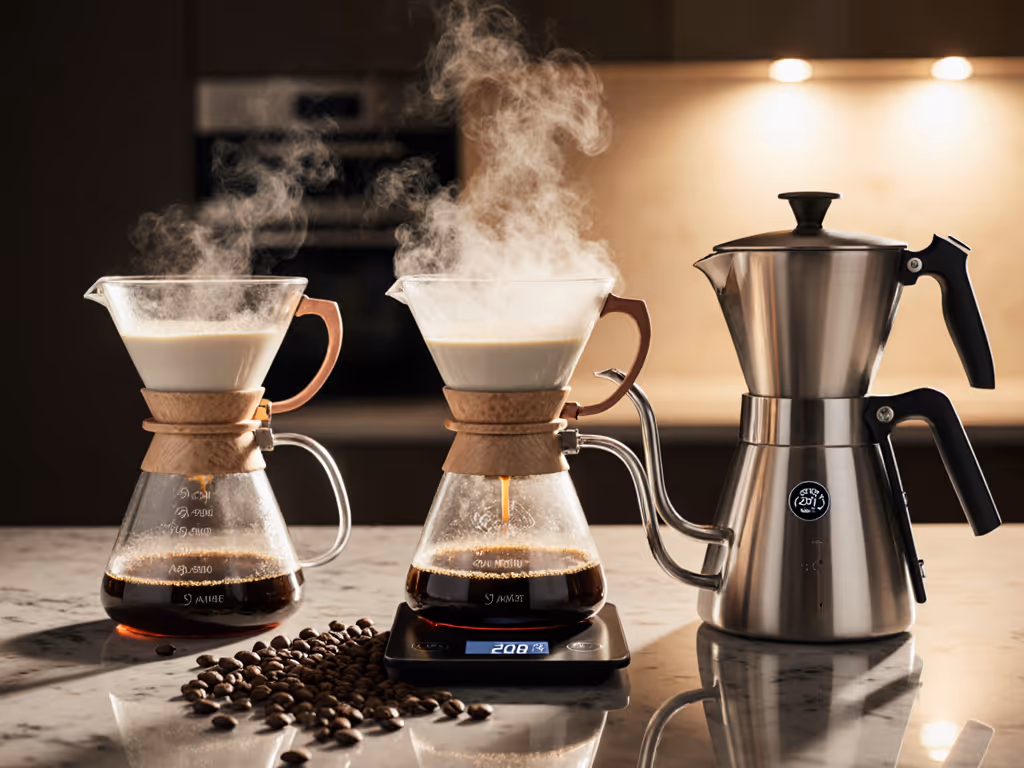
Consistency in pour-over hinges on three measurable inputs: dose (grams of coffee), grind size (passed through a sieve or matched to a reference), and pouring rate (seconds to saturation, total brew time).
Log these three variables:
- Dose: 18-20 grams for a standard dripper (adjust ±0.5g based on cup size).
- Grind: Medium (roughly sea-salt size). If your grinder lacks numbered settings, grind 3-5 grams into a small dish and compare to a reference photo. Consistency here is harder than dose but worth the effort.
- Bloom time: 45-50 seconds after first pour (watch the timer, not the cup).
- Total brew time: 2:30-3:15 (minutes:seconds from first pour to last drop). Note the time. Taste the cup. Log it.[4]
Why log? Because your tap water hardness, ambient temperature, and grinder's fines content all shift extraction slightly. If Wednesday tastes hollow and Monday tasted balanced, the log shows whether you rushed the bloom or ground finer. Measurement creates feedback; feedback builds habit.
Repeat the same recipe twice. If the times and tastes match, you've found a recipe. If they diverge, adjust one variable (grind size, usually) and test again.
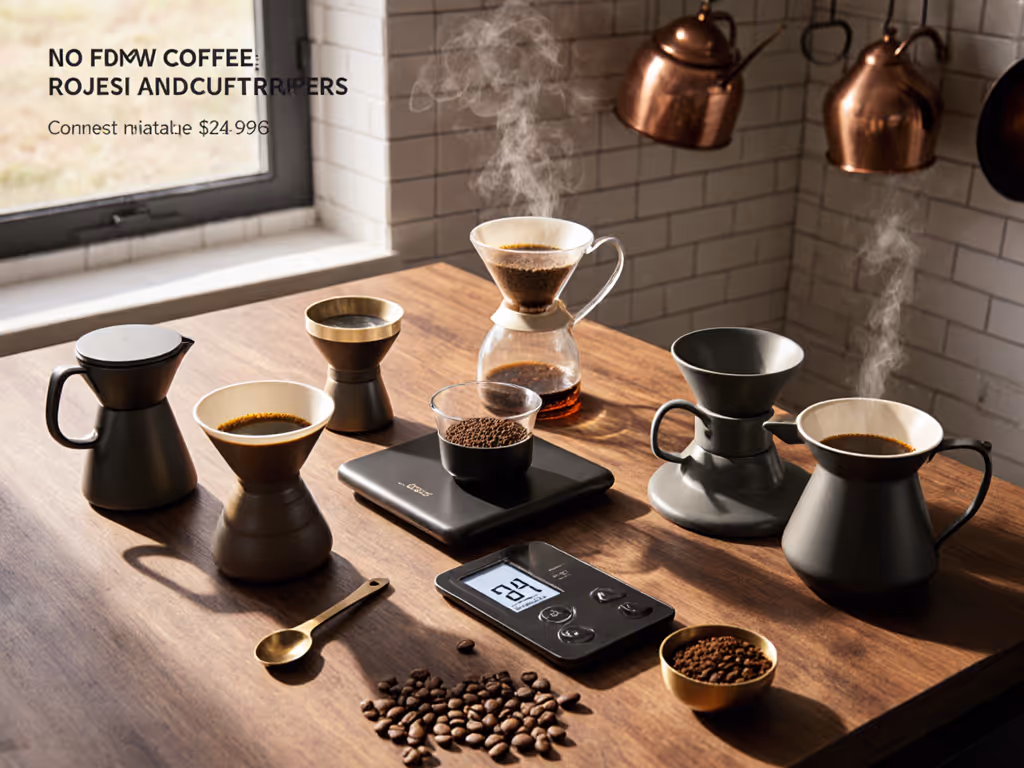
3. Which Pour-Over Dripper Works Best for Beginners and Family Use?
Three designs dominate: For a deeper look at geometry and consistency, read cone vs flat-bottom brewers.
Flat-bottom drippers (ceramic, plastic, or metal)
- Bed depth: 1-1.5 inches (wide, shallow contact area).
- Flow rate: Slower, more forgiving of pour tempo.
- Advantage: Fewer craters; even saturation easier; less channeling if pour is uneven.[4]
- Best for: Kids (fewer variables to manage) and weekday rushes.
- Example: A simple plastic dripper (8 oz capacity) or an OXO Brew Pour-Over Coffee Dripper with Water Tank, which includes a precise water-distribution pattern that automates even saturation.[3]
Cone drippers (ceramic, glass, or metal)
- Bed depth: 2-3 inches (narrow, tall contact area).
- Flow rate: Faster, steeper walls accelerate drainage; requires deliberate pour control.
- Advantage: Compact; higher extraction if pour timing is tight.
- Best for: Experienced brewers or those with control-focused kettles (gooseneck).
- Trade-off: Craters form more easily if you pause mid-pour; variability increases if pour rate shifts.
Wave filters (flat bottom, wave-perforated insert)
- Combines flat-bottom evenness with a unique drainage pattern.
- Flow rate: Moderate, very consistent across brews.
- Advantage: Minimal training needed; difficult to over-extract.
- Best for: Practitioners prioritizing repeatability over flavor range.
Recommendation for families: Start with a flat-bottom dripper (plastic or ceramic, 8-12 ounces). It tolerates uneven pours, teaches saturation visually, and demands fewer adjustments. Once a child or learner logs three consistent timed brews with matching taste notes, upgrade to a cone if desired (but only if a gooseneck kettle and sustained pour control are already in place).
4. What Water Hardness Should I Test For, and Does It Affect Pour-Over?
Water hardness (measured in ppm, parts per million, of dissolved minerals) directly impacts extraction speed and flavor. Get practical fixes in our water quality guide. Hard water (150-300 ppm) brews faster and may taste muted; soft water (0-50 ppm) brews slower and can taste sharp or sour.[1]
Practical test:
- Order an inexpensive TDS (total dissolved solids) meter online (~$15-25).
- Test your tap water before brewing. Log the number.
- If hardness is 150+ ppm, expect slightly faster drainage and less acidity. Grind finer or extend bloom time to compensate.
- If hardness is under 50 ppm, expect slower drainage and brighter (sometimes sour) taste. Grind coarser or shorten brew time.
On a Tuesday before my commute, I measured our tap hardness at 180 ppm, ground 20 grams on a mid-tier burr, and timed three pours. The plastic flat-bottom won by two points on TDS and by taste: cleaner sweetness, less astringency. I logged it, rinsed fast, and caught my train. The next week, same recipe, same dripper, same result. That consistency is the payoff.
If you don't adjust for hardness, your brews will drift day to day, and you'll blame the grinder or beans instead of the invisible variable.
5. How Do I Set Up a Repeatable Pour-Over Routine for a Family?
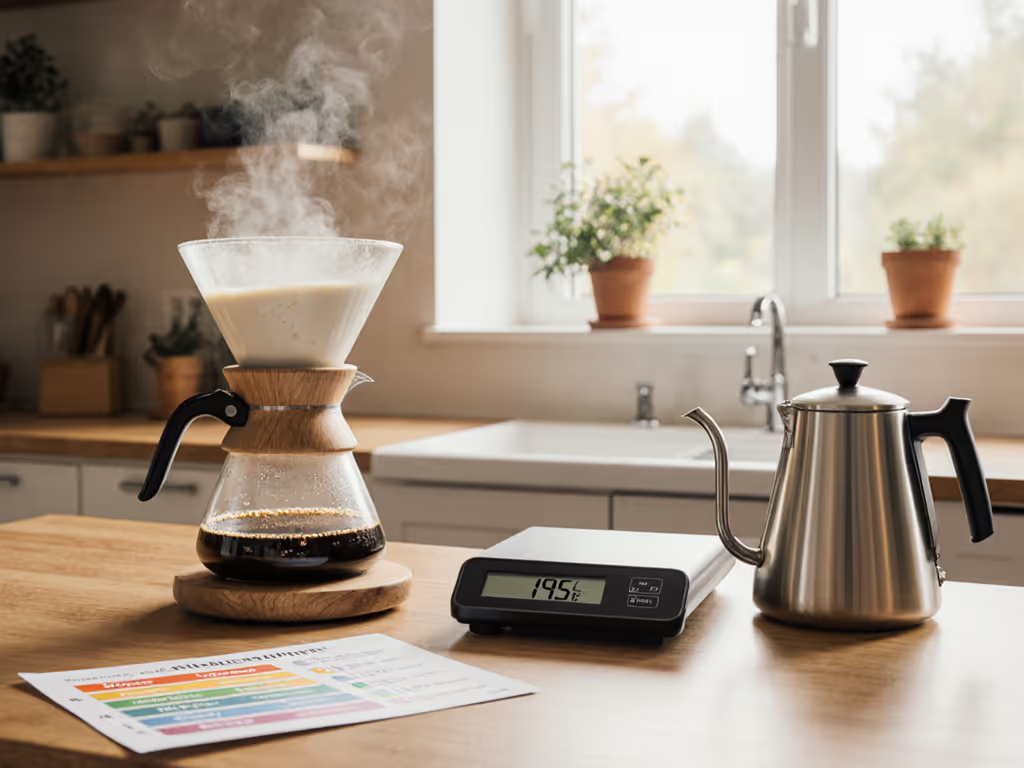
Establish a minimal, timed workflow:
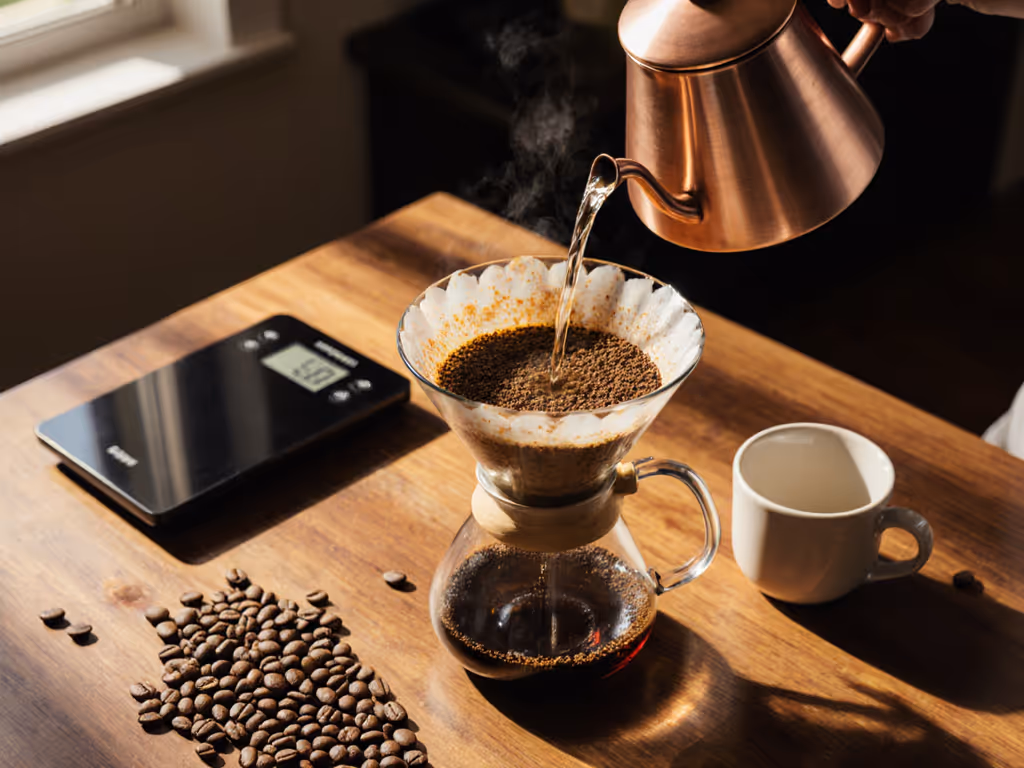
- Prep (1 minute): Heat water to 195-205°F (use a thermometer or count to "water steams, then wait 30 seconds after boil"). Fold and rinse filter; pre-warm dripper with hot water. Discard rinse water.[4]
- Dose (30 seconds): Grind 18-20g into the dripper; tap gently to level the bed.
- Bloom (50 seconds): Pour twice the weight of water (36-40g) and wait 45-50 seconds. Watch, don't rush.
- Main pour (60-90 seconds): Pour in slow circles until total brew time reaches 2:45. Stop. Wait for last drips. Total time: ~4 minutes.
- Log (15 seconds): Write: grind setting, brew time, taste (sour/balanced/bitter), water temp if measured.
For kids aged 8+: Assign roles. One child measures and grinds (under supervision); another pours water during bloom; a third starts the timer. They narrate each step aloud. This builds procedural memory and makes the routine collaborative, not isolating.
For younger children (4-7): Use a toy or simplified dripper (such as a Kid-Safe Coffee Maker toy that mimics pour-over mechanics with plastic and water) to teach the concept of pouring, dripping, and waiting, then show the real setup and emphasize why it's hot and not for unsupervised play.[2]
6. How Do I Adjust If My Cup Tastes Wrong?
Three common problems and their fixes:
| Taste | Most Likely Cause | Adjustment |
|---|---|---|
| Sour, underextracted | Grind too coarse; brew too fast | Grind finer by one notch; extend bloom 10 seconds |
| Bitter, overextracted | Grind too fine; brew too long | Grind coarser by one notch; reduce total time by 15 seconds |
| Flat, muted | Water too hard; brew too fast | Test tap hardness; if >200 ppm, use filtered water next brew |
Change one variable per brew. Taste the result. Log the grind setting and time. Over three or four brews, the pattern will clarify. If flavors still swing, work through our pour-over troubleshooting guide for targeted fixes.
7. What's the Difference Between a Large Pour-Over Coffee Maker and a Standard One?
Capacity is the primary distinction:
- Standard dripper (8-10 oz): Holds 18-20g of coffee; yields one large mug or two small cups. Faster brew time (2:30-3:00); easier to control pour; lower water-to-coffee ratio sensitivity.
- Large pour-over coffee maker (12-16 oz): Holds 30-35g of coffee; yields three or four cups. Longer brew time (3:30-4:30) because more water must saturate a deeper bed. More forgiving of pour inconsistency due to larger thermal mass, but higher risk of underextraction if your tap water is soft and your grind is too coarse.
For family routines: A large dripper makes sense if multiple people brew together or if you want to make one batch for a household. However, repeatability typically improves with smaller vessels, tighter feedback loops, easier to spot errors. Start with a standard (8-12 oz) dripper; scale up only after logging 10+ consistent brews.
8. How Do I Clean and Maintain a Pour-Over Setup for Longevity?
Pour-overs are nearly maintenance-free, but care preserves clarity.[4] For material-specific care tips, see our pour-over care guide.
- After each brew: Discard the filter and grounds; rinse the dripper with cool water while it's still warm. If your water is hard (>150 ppm), a quick rinse with hot water removes residual oils.
- Weekly: Soak the dripper in hot water with one tablespoon of white vinegar for 15 minutes. Rinse thoroughly. This removes mineral buildup and keeps the dripper's drainage holes clear.
- Monthly: Inspect the kettle for scale. If water has visible mineral deposits, boil a 50/50 white vinegar and water mix inside, let sit 10 minutes, then boil again and rinse.
Clean equipment tastes clean. A clogged dripper or scaled kettle will slow your brew time unexpectedly, and when time drifts, taste drifts.
Why This Matters: Repeatability Over Remarkable
The central truth is simple: repeatability beats remarkable. A cafe barista doesn't achieve clarity and sweetness through mystical intuition. They weigh dose to 0.1 gram, control water temperature to ±2°F, and time every pour. When taste varies, they adjust measured inputs, not hunt for a new coffee brand or spray expensive equipment with "+magic" coatings.
Home brewing (whether for personal mastery or as a teaching framework for children) follows the same logic. Measure tap hardness once. Set a grind reference. Log three timed pours. Taste. Adjust one variable. Repeat. Within two weeks, your weekday routine will produce consistent, clean cups. Within a month, you'll know precisely why a cup tasted sour (grind too coarse; bloom rushed) and how to fix it.
That's not boring. That's confidence. And for a family (children learning to observe causation, adults reclaiming a calm morning ritual) it's the foundation of a practice that lasts.
Further Exploration
To deepen your pour-over framework:
- Measure your tap water hardness using an inexpensive TDS meter. Compare brews at your actual hardness level versus filtered or bottled water. Log the taste difference.
- Test two dripper shapes (flat-bottom and cone) side-by-side with identical dose, grind, and pour rate. Note which produces faster drainage, fewer craters, and more consistent taste over three brews.
- Create a simple brew log (date, grind setting, brew time, water temperature if known, taste descriptor, and one variable to adjust next). Review it monthly. Patterns emerge fast.
- Involve a child (4+) in the measurement and logging step. They'll internalize the principle that systems (not luck) produce results. And they'll notice when a Tuesday brew matches Monday's taste, which is the moment repeatability becomes real to them.
The goal isn't to turn coffee into a chore. It's to build enough structure that the ritual becomes effortless, and the flavor becomes a constant you trust. Flow first, then grind, then water; log it, repeat it. Repeatable beats remarkable.
Related Articles