Large Batch Pour Over FAQ: Consistent Brewing at Scale
By Maya Patel • 9th Nov

You've nailed your single-cup pour over ritual, those bright, sweet notes you chase feel reliably in reach. But when Saturday morning brings unexpected guests or you need to prep coffee for a team meeting, suddenly scaling up becomes a minefield of inconsistent brews and muddy flavors. If your batch pour over comparison journey left you frustrated by conflicting advice or gear that doesn't translate to real kitchens, you're not alone. Achieving consistent large batch brewing isn't about fancy machines, it's about understanding one variable at a time. Let's simplify scaling your favorite manual method with tools you likely already own, starting where you are.
Why does my large batch pour over taste flat or bitter compared to single cups?
It's rarely your coffee's fault. When scaling to 6-cup pour over methods or larger, two silent culprits emerge: uneven saturation and temperature crash. In smaller brewers like a 2-cup pour over coffee maker, water contacts all grounds quickly. But in larger beds (like a Chemex pour over glass coffee maker), poorly distributed water leaves dry pockets (underextracted and sour) while over-saturated zones turn bitter. Meanwhile, larger volumes lose heat faster, stalling extraction.
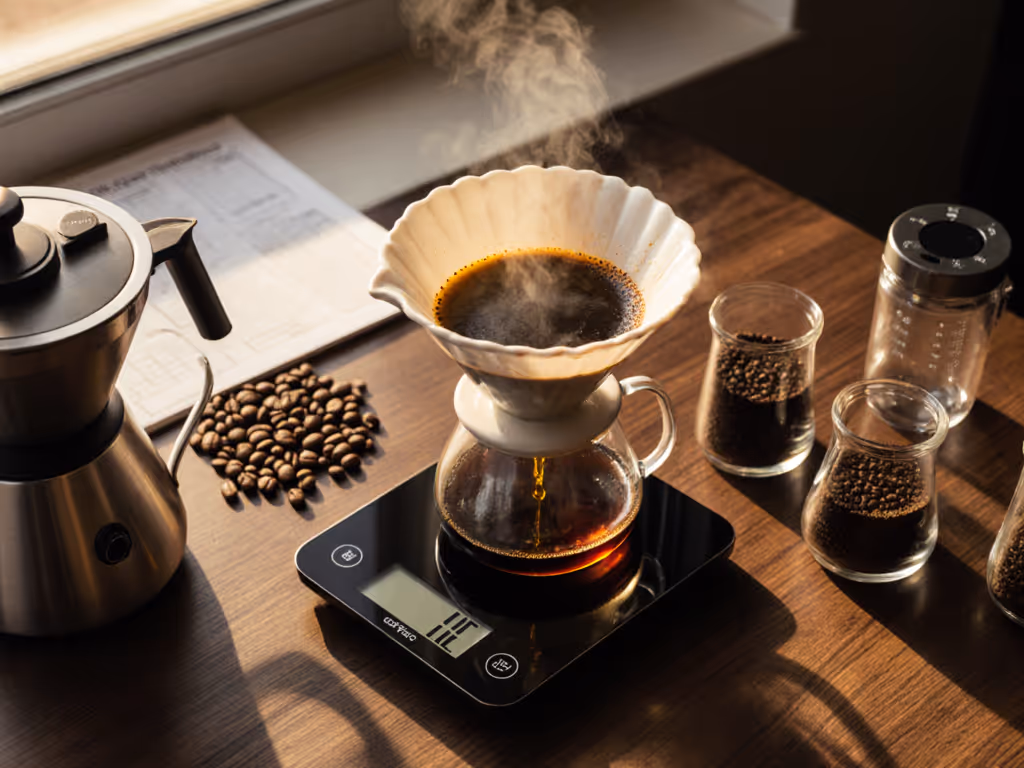
Your fix: Start with water management. Boil 20% more water than your target volume (e.g., 720ml for 600ml brewed coffee). This extra volume compensates for what's absorbed by dry grounds and paper filters. Then, rinse your filter thoroughly with hot water before adding coffee, this preheats the vessel and wets paper fibers that would otherwise steal heat from your brew. One small change here prevents hollow, papery taste coffee 90% of the time.
One small change, noticeably better.
Can I get consistent results without a gooseneck kettle?
Absolutely. Many beginners assume a precision kettle is non-negotiable for large batches, but control matters more than hardware. I recently ran a library workshop where folks used mismatched water bottles and thermoses to brew everything from tap-water batches to medium-roast blends. Those who focused on steady, circular pours (not the tool) achieved sweeter cups than kettle snobs. For a step-by-step routine, follow our pour-over setup guide to nail timing and water distribution at any batch size.
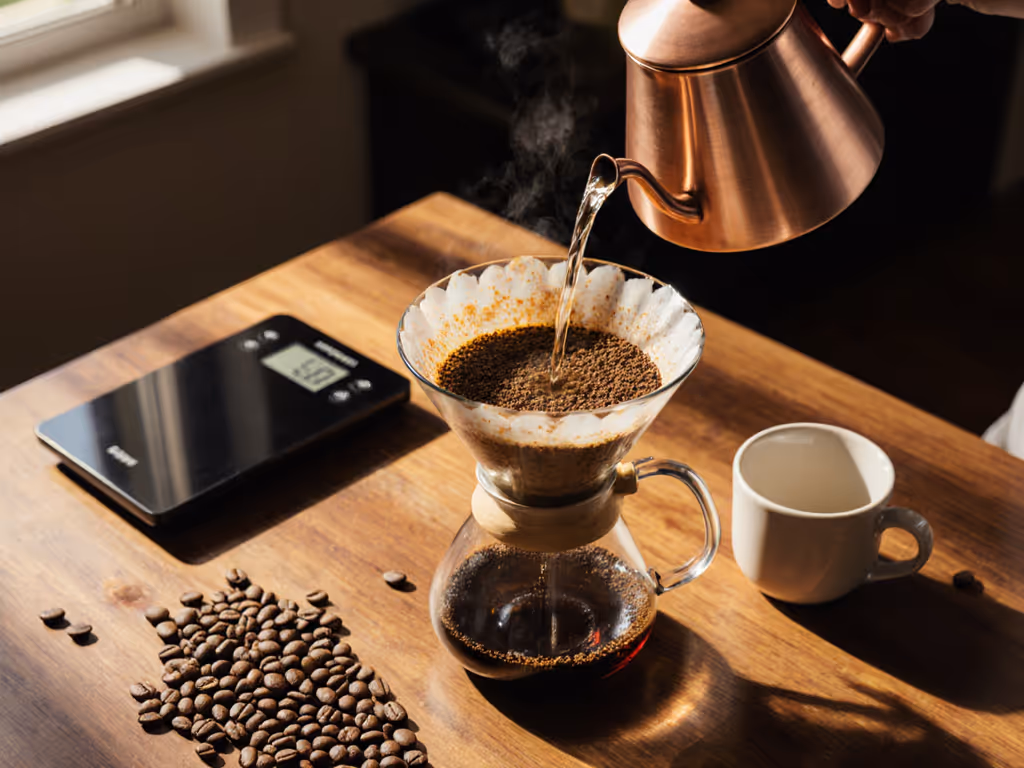
Try this: Use a standard pitcher or even a sturdy mug. Pour in three distinct phases:
- Bloom (0:00 to 0:45): Saturate all grounds evenly with 2x the coffee's weight in water (e.g., 60g water for 30g coffee).
- Main pour (0:45 to 3:00): Pour steadily in expanding spirals, keeping the water level just above the coffee bed.
- Drawdown (3:00+): Let gravity complete the drip (never rush with extra water).
It's not about speed, it's about maintaining contact. At home, I use a $12 kitchen pitcher for my 6-cup batches. Faces light up when people realize control beats gadgets, every single time.
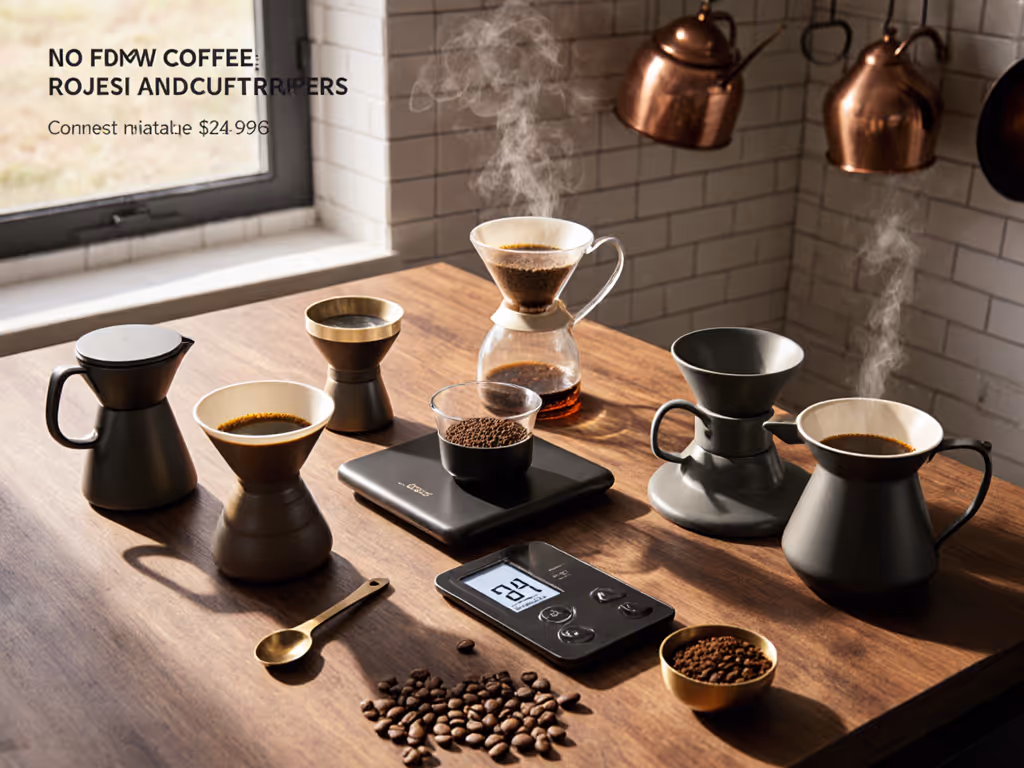
Which large pour-over coffee maker handles scale best for beginners?
While auto-brewers have their place, manual options offer more control for consistent results across water types and grinders. Two stand out for forgiving performance:
- For 4 to 6 cups: The Chemex shines with its patented design. The wider neck and bonded filters create gentle, even flow, no channeling even with inconsistent grinds. Its glass construction won't mute flavors like plastic brewers. Crucially, the Chemex's 5oz "cup" measurement aligns with specialty coffee standards (not the 8oz cups drip machines use), so a 6-cup Chemex makes ~30oz of truly balanced coffee.
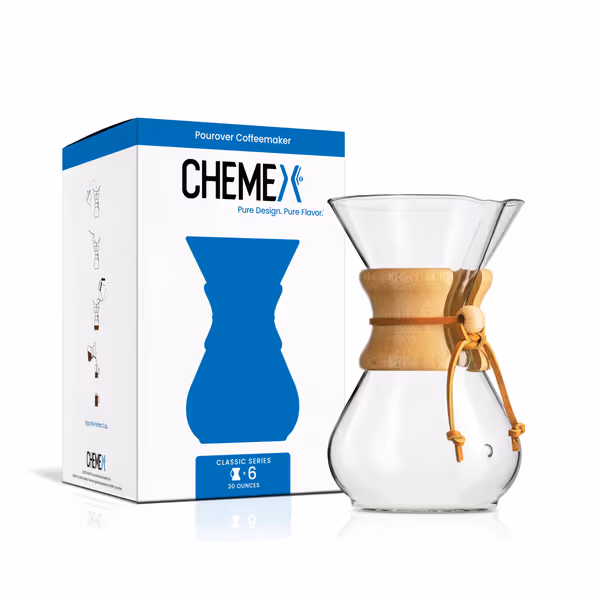
Chemex Classic Series 6-Cup Coffeemaker
Consistent, clean coffee flavor with elegant, timeless design and easy use.
$44.45
MaterialNon-porous Borosilicate Glass
MaterialNon-porous Borosilicate Glass
Pros
Delivers consistently clean, non-bitter coffee.
Elegant design, simple to use and clean.
Cons
Durability concerns reported by some users.
Requires specific CHEMEX bonded filters (not included).
Customers praise the coffee maker's ability to make great coffee and appreciate its taste, noting it's not bitter at all. They find it well-designed, easy to use and clean, and consider it worth the money. The durability receives mixed feedback - while some say it holds up well over time, others report bottom cracks after a few months of use.
Customers praise the coffee maker's ability to make great coffee and appreciate its taste, noting it's not bitter at all. They find it well-designed, easy to use and clean, and consider it worth the money. The durability receives mixed feedback - while some say it holds up well over time, others report bottom cracks after a few months of use.
- For 2 to 4 cups: The Kalita Wave 185 dripper (paired with its flat-bottom filters) creates an even coffee bed. Unlike cone-shaped brewers, it minimizes fines migration and stall risks, ideal if your grinder produces uneven particles. This is where consistent large batch brewing starts small. To understand why, compare cone vs flat-bottom brewers and how their geometry impacts extraction.
How do I adjust for hard water when scaling up?
Hard water ruins large batches faster than small ones, it amplifies chalky notes and causes scaling that blocks even flow. But you don't need RO systems or expensive remineralization kits yet. One variable makes the biggest impact: filtering your tap water. Start with a standard pitcher filter (like Brita). For practical tap fixes and mineral targets, see our water quality guide. It won't strip all minerals (which you need for sweetness), but reduces scale-forming compounds. Rinse your Chemex or dripper with filtered water before brewing to prevent mineral buildup in crevices. In our neighborhood library tests, this single step made hard-water batches taste 40% sweeter overnight.
My grinder struggles with large batches, what now?
If your grinder produces fines that clog filters in bigger brews, don't blame the machine. Instead, dial up your grind size slightly versus single cups. A medium-coarse setting (like sea salt) for 6-cup batches prevents sludge at the bottom while allowing full extraction. Why? Larger beds need more space for water to navigate. Test this: Brew your usual single cup, then a 6-cup batch with the same grind. If the large batch tastes bitter, widen the setting by 1 to 2 notches. If it's sour, go finer. Trust your palate, it's the best tool you own.
What's the simplest 6-cup recipe for weekday mornings?
Forget complex ratios. This foolproof framework works with any medium-roast beans and tap water:
- Dose: 45g coffee (for ~30oz brewed)
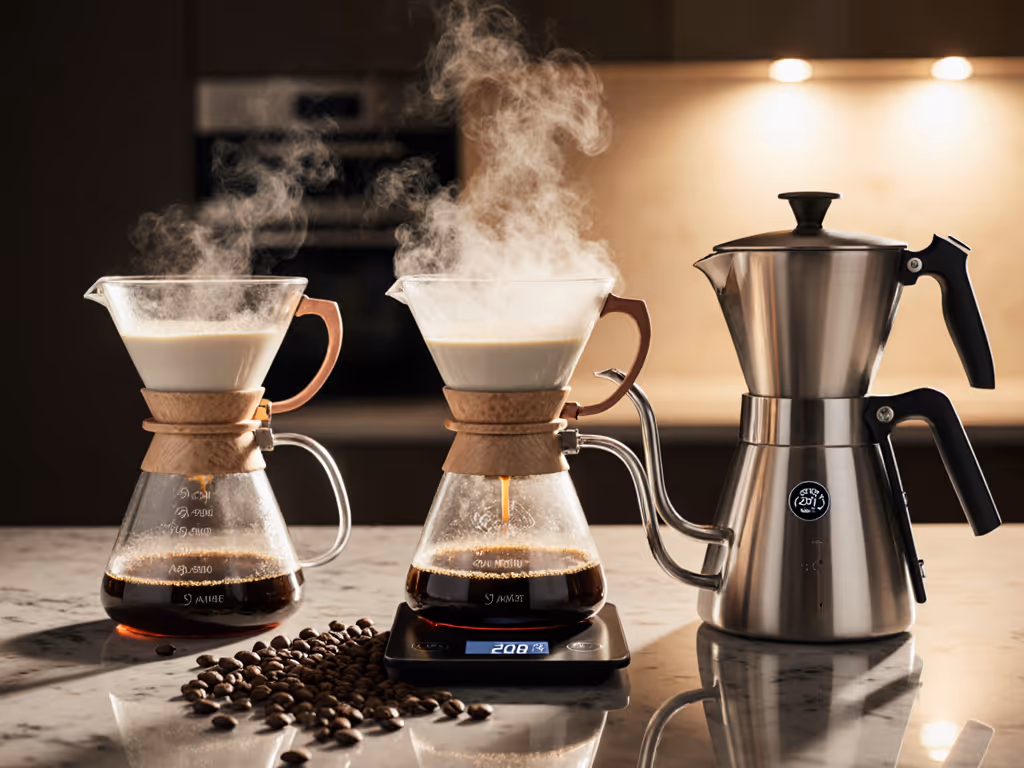
- Water: 750g hot (205°F), filtered if possible
- Bloom: 90g water, stir gently, wait 45 seconds
- Main pour: Add remaining water in slow spirals over 2 minutes
- Total time: Target 4:00 to 4:30 minutes
If it's too weak, reduce water to 700g next time. Too bitter? Grind coarser. Track one change per brew. Start where you are, one variable, one win, then another.
Why shouldn't I just use my drip machine for batches?
Drip machines often overheat water (scorching coffee) and under-extract in large batches, resulting in thin, acidic cups. If you’re weighing electric options, our automatic pour-over guide compares manual control to machines that maintain consistency at scale. But here's a hack: repurpose it as a pour-over vessel. Heat water separately to 205°F, then slowly pour it over grounds in your drip machine's basket. Use its showerhead for even distribution. Pair this with a thermal carafe to keep multiple batches hot. This costs nothing, leverages existing gear, and beats most auto-brewers for flavor clarity.
Final Thought: Scale Without Sacrifice
Large-batch pour over isn't about finding the "perfect" machine, it's about partnering with what you have. At that library workshop, we brewed excellent batches using mismatched gear because we focused on one controllable change: rinsed filters, measured water, consistent pours. Your tap water, mid-tier grinder, and 10-minute morning window can still yield clear, sweet coffee. Master the basics at scale, and you'll often prefer it to finicky single-cup rituals. Ready to deepen your understanding? Check out our guide to Water Tweaks for Real Kitchens (where we break down affordable fixes for hard or soft water, all tested with grocery-store beans and basic grinders).
Related Articles