High-Altitude Beans: Pour Over Extraction Guide
By Luca Rinaldi • 19th Mar
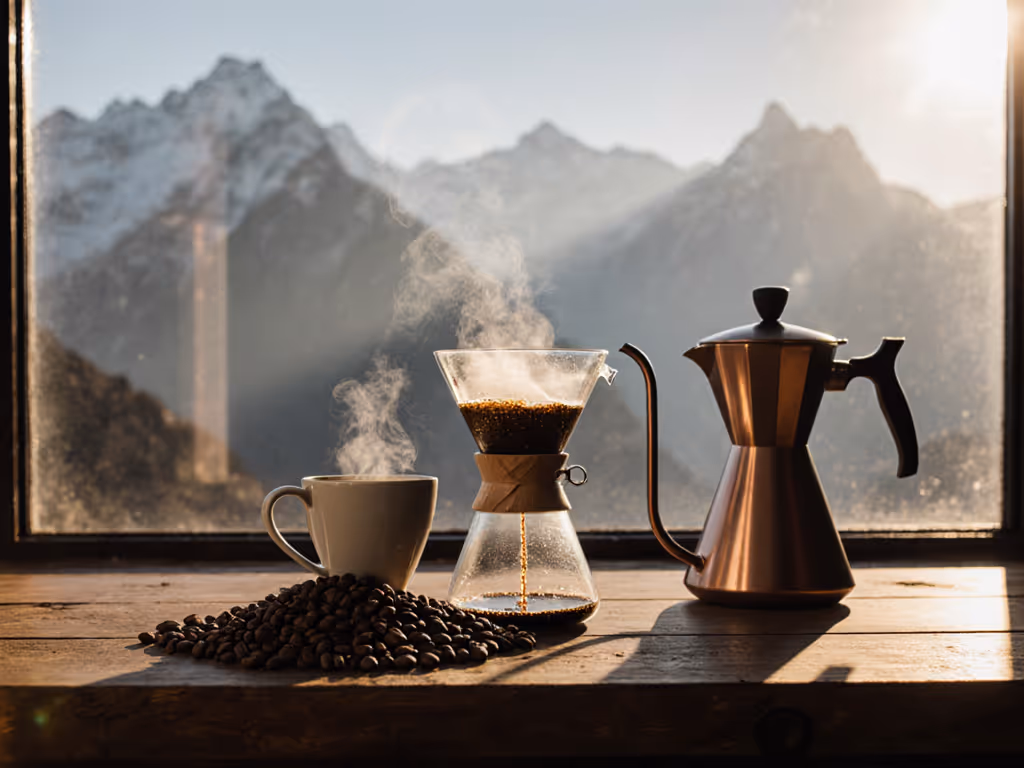
When you brew high altitude coffee pour over, you're extracting from beans that have spent weeks, not days, ripening on the branch. This difference shapes everything about how water moves through your bed and what flavor lands in your cup. Understanding how altitude changes bean structure, acidity, and extraction kinetics is the bridge between choosing good beans and brewing them right. This guide walks you through the physical and chemical realities of high-elevation coffee, then shows you how to adjust your process to handle them with calm, repeatable precision. For a deeper foundation on variables like time, temperature, and flow, read our pour-over extraction science guide.
What Altitude Does to Coffee Structure
Density and Hardness: The Foundation of Extraction
High elevation coffee beans are harder and denser than low elevation coffee[3]. This isn't a small detail; it's the root of everything that follows. Beans grown above 4,000 feet in cooler air mature slowly[1]. That slowness compresses sugars, acids, and cellulose into a tighter matrix.
Why this matters for pour-over: denser beans resist water penetration. They don't surrender their solubles at the same rate as softer, low-altitude beans. If you use a recipe designed for lower-altitude coffee (the same grind size, water temperature, and pour rate) you'll likely end up with underextraction: a thin, sour, or hollow cup.
Scientific studies confirm this reality. Research shows that coffee grown at elevations above 1,200 meters typically reveals heightened acidity, a more vibrant flavor, and distinct taste notes such as floral or fruity aromas[4]. But that vibrancy only emerges if extraction is tuned to the bean's actual density.
Visible Signs of Altitude-Grown Beans
Before water meets grounds, you can spot altitude beans by their fissure, the line running down the bean's center. High elevation coffee will have a fine fissure line, which is sometimes zig-zagged or askew[3]. Low-altitude beans show a straighter, more pronounced crack. This fine fissure hints at the denser, slower-maturing structure inside. Your future self will thank you for learning to spot this marker; it's a tactile checkpoint before you even brew.
Altitude and the Chemistry of Acidity
Higher Altitude = Brighter Acidity and Flavor Complexity
Cooler mountain temperatures do more than slow ripening. They shift the chemistry of the bean itself. At higher elevations, where the air is cooler and the growth process is slower, coffee beans tend to develop a brighter acidity[6]. High-altitude beans develop higher acidity, which brings out notes of citrus, green apple, or berries[1].
But here's the nuance: this acidity is not sharpness or harshness. It's clarity, a frame that lets floral, fruity, and sweet notes stand apart. Research also shows that the volatile flavor components in the roasted coffee change with growing altitude, reducing nutty and roasted flavor while adding sweet and caramel aroma[2]. Higher altitudes shift the aroma profile toward sugar and brightness, away from heavy roast character.
The trade-off is real: high-altitude coffee usually has a tiny bit less caffeine than beans from lower farms[1]. The density gains and flavor complexity come at the cost of slightly reduced alkaloid concentration. For most home brewers, this is irrelevant; the flavor win outweighs the marginal caffeine loss.
What This Means for Your Pour-Over Workflow
Brighter acidity means your extraction window is narrower. Underextract, and you taste that acidity without the sweetness to balance it, a mouth-puckering sour. Overextract, and the same acidity becomes sharp or bitter. The bean's density adds another variable: water has to work harder to penetrate, so you need either a grind adjustment, hotter water, or a slower pour to give extraction time. Small motions, big payoffs. Designing your morning for repeatable calm starts with understanding these constraints.
Density, Extraction, and Your Pour-Over Setup
Why Denser Beans Need Slower Water Movement
Denser beans are often regarded as being of higher quality, giving them the potential to roast more evenly, thereby producing a richer flavor[4]. But density is a double-edged tool in the brewer's hand. When water moves through a bed of dense, slow-maturing beans, it faces more resistance. If your dripper has high flow rate (like a Melitta or Japanese ceramic with a large single hole), water rushes through before sufficient contact time, and extraction falls short.
This is where dripper design becomes a practical decision, not an aesthetic one. For design trade-offs that affect drawdown and consistency, see our cone vs flat-bottom comparison. Drippers with pronounced ribs or a wider, shallower bed slow drawdown naturally. A dripper with a narrower base and ridges forces water to slow even as you pour steadily. The goal is to match water flow to bean density so that contact time is long enough (typically 3 to 4 minutes for the full brew) but not so long that you over-extract and lose clarity.
Grind Size and Density: A Direct Relationship
High-altitude beans demand a slightly coarser grind than you might use for equatorial or low-altitude coffee. Dial in with our brewer-specific grind size guide for target ranges and fixes. Here's why: density resists water penetration at the particle level. A finer grind on an already-dense bean can pack too tightly, creating dead zones where water doesn't flow. A coarser grind on dense beans achieves the same extraction as a medium grind on lower-altitude beans, but with better flow and less channeling risk.
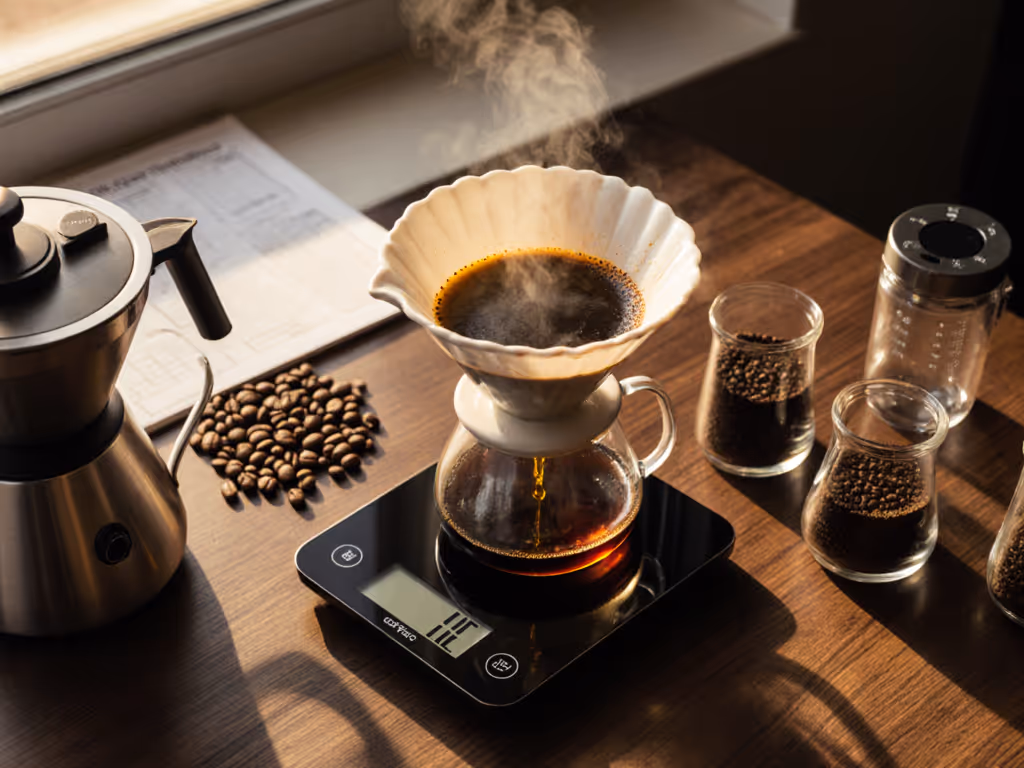
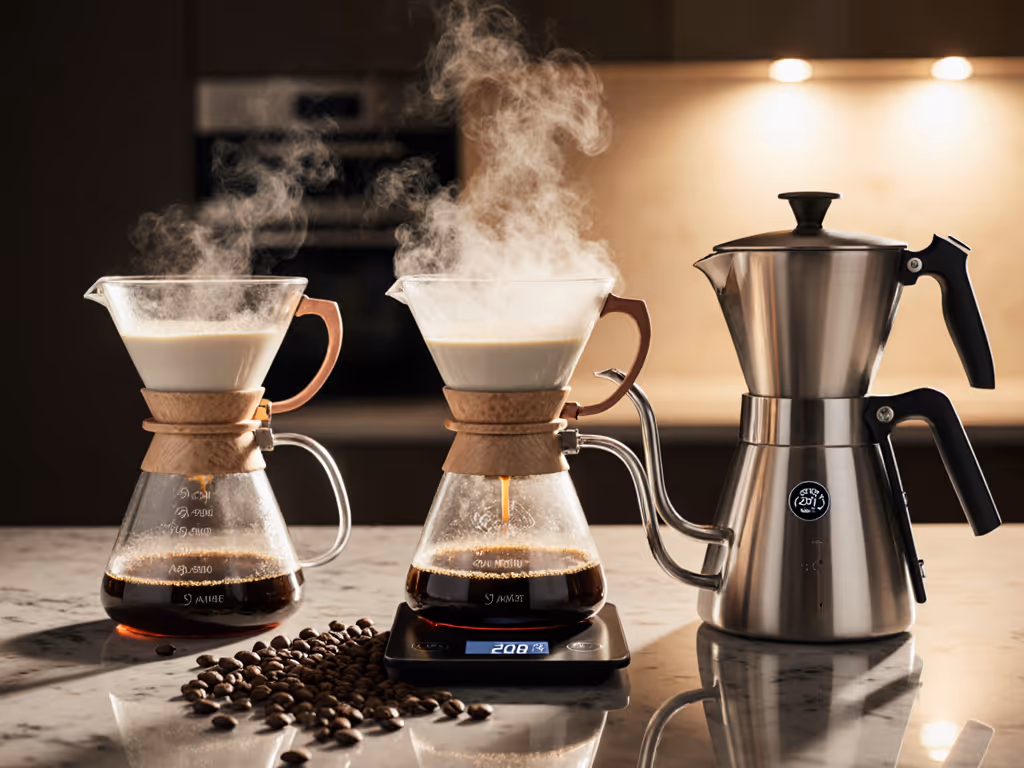
Checkpoint: 0-30 seconds. Rinse your filter and dripper with hot water. The heated dripper speeds your overall brew by reducing thermal loss. Place ground coffee in the filter, shake lightly to level the bed, and place your dripper on a scale or cup.
Checkpoint: 30-50 seconds (the bloom). Pour just enough water to saturate the grounds, roughly 50-60 grams for a 16-gram dose. Let it sit. During these 20 seconds, CO2 escapes and water begins breaking down cell walls. High-altitude beans, with their slower maturation, often have more trapped gas; a full bloom pays dividends in evenness. For optimal bloom timing by roast level and bean age, use our bloom phase guide.
Practical Adjustments for High-Altitude Pour-Over
Water Temperature and Time
Denser beans need either hotter water or longer contact time (or both, in moderation). Start with water at 95-97°C (203-207°F). This temperature is hot enough to penetrate dense structure without scorching the grounds. If your cup tastes thin or sour, raise temperature to 98°C; if it tastes bitter or ashy, lower it to 94°C and increase contact time by adding a pause between pours.
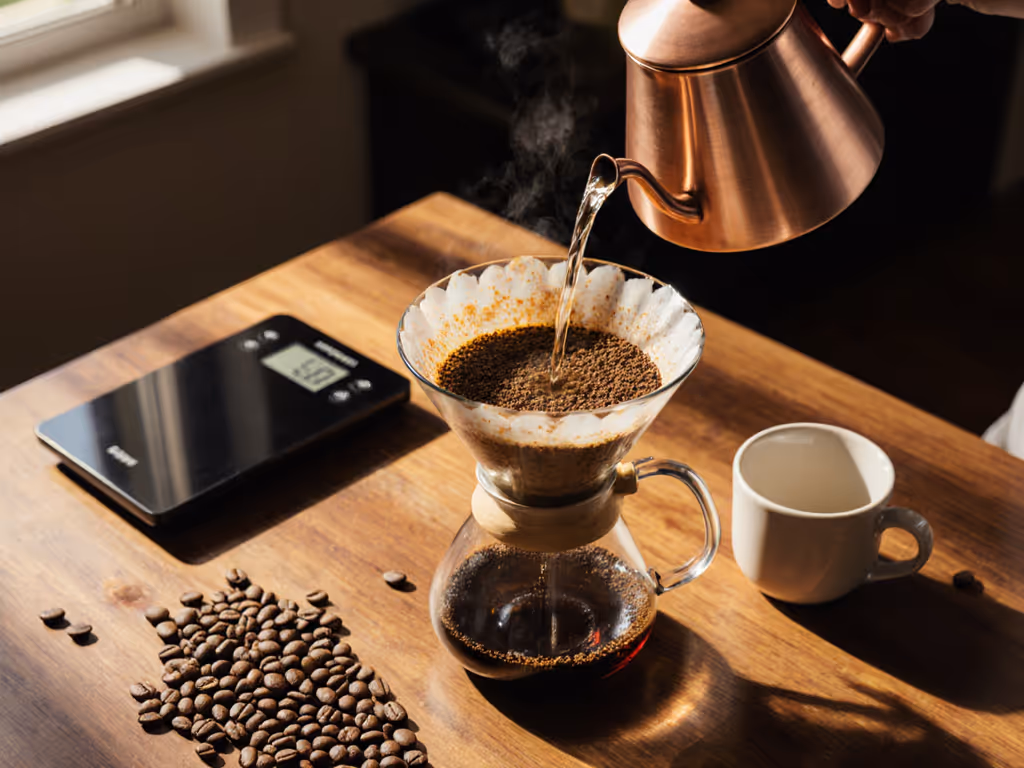
Checkpoint: 1-2 minutes (first pour). Pour in a controlled, circular motion to the edges of the grounds, avoiding the center. Use about 100-120 grams of water for a 16-gram dose, reaching roughly 1:6 coffee-to-water ratio. The goal is complete saturation without pooling. Stop when water level reaches just below the surface of the grounds.
Checkpoint: 2-3 minutes (second pour). After a 30-second pause, pour the remaining water in the same controlled manner. This pause allows early-stage water to extract before fresh water arrives, reducing the risk of underextraction and channeling. Watch the water level; it should drop steadily but not race through.
Adjusting for Hard Water
High-altitude regions often have mineral-rich volcanic soil[1]. But your home's water chemistry is independent of your beans' origin. If your tap water is hard (high in calcium and magnesium), mineral content can slow extraction even further by coating particles. Get simple fixes and recipes in our pour-over water quality guide. Paradoxically, you may need to grind slightly finer on hard water to maintain extraction speed, or use a water filter to reduce hardness to 150-200 ppm (parts per million). A softened or filtered water profile lets you control extraction cleanly via grind and temperature alone.
Real-World Timing: Designing Your Weekday Routine
A full high-altitude pour-over, from kettle-on to cup-in-hand, takes 7-8 minutes if you're efficient. Here's how:
- Minute 0: Kettle on, grind beans (20 seconds).
- Minute 1: Filter rinsed, dripper positioned, bloom begins.
- Minute 2: First pour.
- Minute 3: Pause.
- Minute 4: Second pour begins.
- Minute 5-6: Water draws down through bed.
- Minute 7-8: Cup in hand, brew complete.
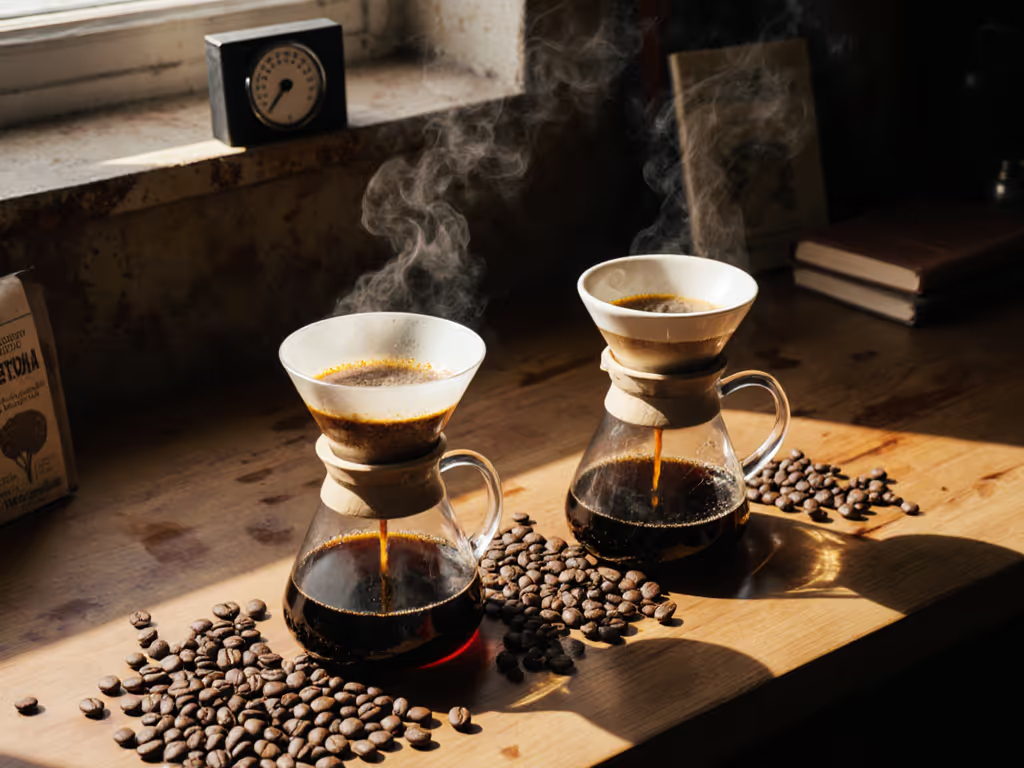
This rhythm assumes you've chosen stable, forgiving gear, a dripper with pronounced ribs for consistent flow, a gooseneck kettle for controlled pours, and a grinder capable of repeatable medium-coarse settings. The fewer variables you leave to feel or guesswork, the more consistent your cup becomes across Monday, Wednesday, and Friday mornings. Repeatability is rhythm; rhythm is calm.
Choosing Your Approach: Dial-In Checkpoints
If your current high-altitude beans taste too sour or thin, you're likely underextracting. Adjust in this order:
- Grind finer (easier to test, reversible).
- Raise water temperature by 1-2°C.
- Slow your pour rate by pouring in tighter concentric circles rather than wider passes.
- Extend contact time by adding a 15-second pause between pours.
If your cup tastes bitter, ashy, or muddy, you're overextracting:
- Grind coarser.
- Lower water temperature by 1-2°C.
- Pour faster (maintain bed saturation but reduce total time).
- Reduce contact time by combining your two pours into one controlled pour with minimal pause.
A Path Forward
High-altitude coffee demands respect for bean structure, but it rewards you with clarity and complexity that lower-elevation beans rarely match. The extraction framework is straightforward: match grind, temperature, and pour rate to the density you're working with, trust your dripper's design to manage flow, and trust the rhythm you've built to deliver consistency.
Start by choosing one high-altitude origin, a single bag from a single farm or cooperative. Brew the same recipe three or four days in a row, making only one small adjustment each day (grind, temperature, or contact time). Taste each cup with attention to acidity, sweetness, clarity, and finish. By the end of that week, you'll have mapped the variables that work in your kitchen, with your water, in your actual time. You won't need a rule book; you'll have a repeatable practice.
Your future self will thank you for building that foundation now.
Related Articles