Barista Competition Pour-Over Consistency Made Simple
By Maya Patel • 30th Nov
If you've ever wondered how to bring the precision of barista competition pour over to your morning routine without professional equipment, you're not alone. Many home brewers feel intimidated by the seemingly complex rituals they see online, but the truth is that championship-level results come from thoughtful consistency, not expensive gear. I've taught hundreds of beginners through library workshops and community classes, and time after time I've seen faces light up when they realize that control beats gadgets every single time. Whether you're using tap water from your kitchen faucet or a hand-crank grinder from the back of your cupboard, you can achieve remarkable clarity and sweetness with just one small adjustment at a time.
Why Competition Techniques Belong in Your Kitchen
Barista competitions showcase the pinnacle of coffee craft, but their core principles translate beautifully to home brewing. The World Barista Championship (WBC) pour over techniques aren't about fancy moves; they're about thoughtful consistency that ensures every cup reveals the coffee's true character. What separates competition-level pour-overs from everyday brews isn't the equipment; it's the systematic approach to variables that you can adapt to your home setup.
During a neighborhood library workshop I taught, we brewed with whatever folks brought: tap water, grocery store beans, hand grinders of every era. We mapped one change at a time (rinsed filter, finer grind, steadier bloom). Faces lit up when sweetness appeared. That's when beginners realize control beats gadgets, every single time.
Start where you are; one variable, one win, then another.
Water: Your Secret Weapon for Consistency
Most home brewers overlook the single biggest factor affecting taste: water. Competition baristas use precisely measured water chemistry, but you don't need a lab to make meaningful improvements. The water in your tap contains minerals that either enhance or mute coffee's natural flavors, depending on its hardness and alkalinity.
One small change, noticeably better: Try this simple water test. Brew two identical cups, one with tap water, one with filtered water from a $30 pitcher filter. Taste them side by side. Notice any difference in brightness or harshness? That's your starting point.
The Home Brewer's Water Framework:
- If your tap water tastes neutral or slightly sweet: Use it as is, but always bring it to a full boil then let it rest 30 seconds (to reach 200°F/93°C)
- If your water tastes mineral-heavy or chalky: Use a basic activated carbon filter (like Brita)
- If your water tastes flat or metallic: Add a pinch of sea salt (yes, really, just 1/16 teaspoon per liter)
This simple framework addresses 90% of water issues without requiring expensive remineralization drops or bottled water. The goal isn't perfection; it's consistency from one brew to the next.
Working With What You Have: The Grinder Reality Check
One of the most common pain points I hear is "My grinder isn't good enough." But here's what competition baristas know: even modest grinders can produce excellent results when paired thoughtfully with your dripper and technique. The key isn't expensive equipment; it's understanding how your specific grinder behaves.
Quick Grinder Assessment:
- Grind Test: Grind a tablespoon of beans and spread them on white paper. Do you see mostly uniform particles, or a mix of boulders and fines?
- Flow Test: Time how long it takes to brew 300 ml of water through your grounds. Too fast (<2:30) means grind is too coarse; too slow (>4:00) means too fine.
- Stability Check: Does your grind setting stay consistent cup after cup, or do you need to adjust it daily?
Instead of chasing the "perfect" grinder, work with what you have:
- Blade grinders: Pulse in 5-second bursts, shake gently between pulses
- Entry-level burr grinders: Set one notch finer than recommended for pour-over
- Mid-tier grinders: Use the medium setting as your baseline, then adjust based on taste
Remember: Consistency matters more than absolute particle size. One small change, noticeably better.
Step-by-Step: Competition Pour-Over for Home Brewers
Let's translate competition techniques into a straightforward home routine. Forget confusing online videos; this is the distilled essence of what actually matters for consistent, sweet cups.
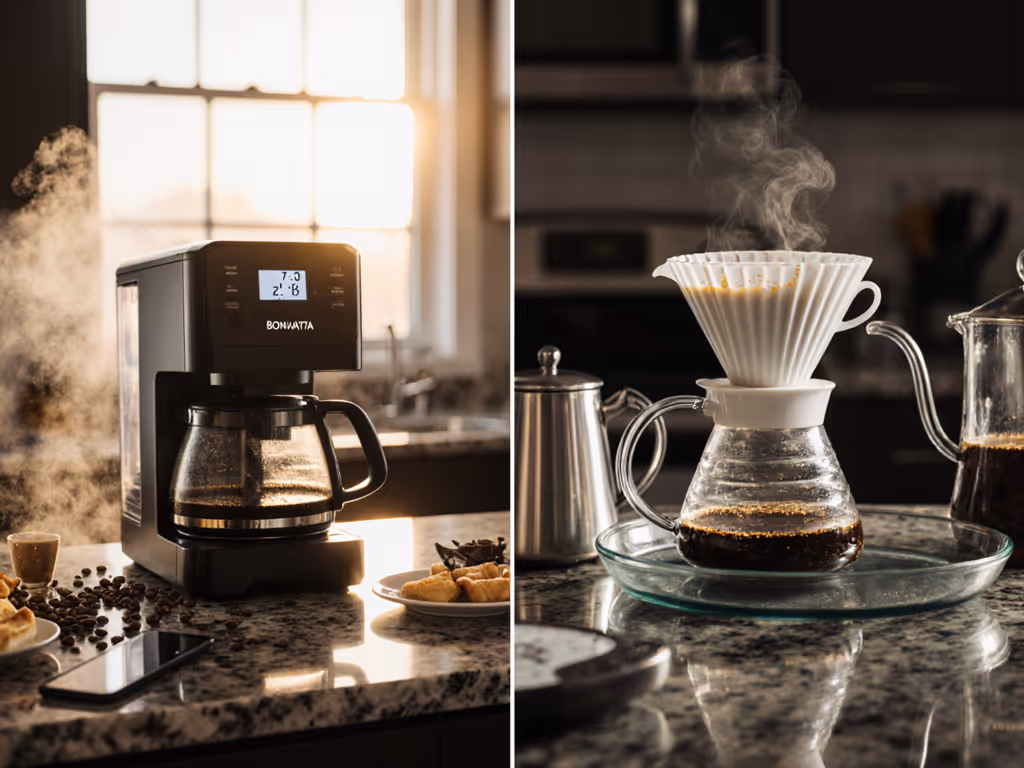
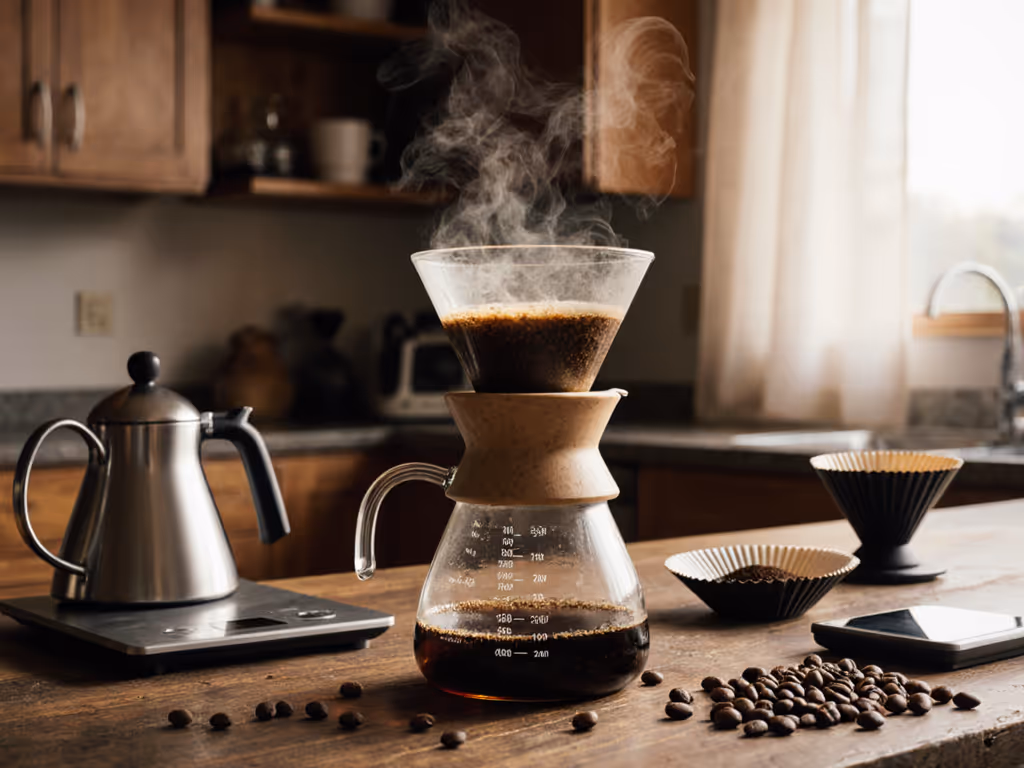
Step 1: Your Pour Over Coffee Set Up
You need just four items: Not sure which brewer suits you? Compare the V60 vs Kalita Wave to pick the right starting dripper.
- A forgiving dripper (V60 for clarity, Kalita Wave for forgiveness)
- A basic gooseneck kettle ($15-20 models work fine)
- A $15 coffee scale with timer function
- A standard paper filter
The right coffee shop equipment for home isn't about matching professional gear; it is about choosing tools that make consistency easy. A competition coffee scale doesn't need to be fancy; it just needs to measure to 0.1g and have a built-in timer. This eliminates guesswork and builds muscle memory.
Step 2: The Pre-Brew Ritual (Takes 30 Seconds)
- Rinse your filter with hot water (this removes paper taste and preheats your dripper)
- Place your dripper on your carafe or mug
- Weigh your coffee (30g for 500ml total water is a great starting ratio)
This ritual serves two purposes: it creates consistency, and it gives you a moment to focus before brewing (something championship baristas do but rarely talk about).
Step 3: Mastering the Bloom (The Secret to Sweetness)
The bloom isn't just for show; it is where most home brewers go wrong. When coffee is fresh, it releases CO2 that blocks water from properly extracting flavors. Competition baristas use precise bloom ratios, but you can simplify:
- Pour twice the weight of coffee in water (60 g for 30 g coffee)
- Wait 45 seconds, no more
- Gently swirl the dripper once at 20 seconds to even out the bed
This simple step prevents the hollow, under-extracted taste that frustrates so many home brewers. One small change, noticeably better.
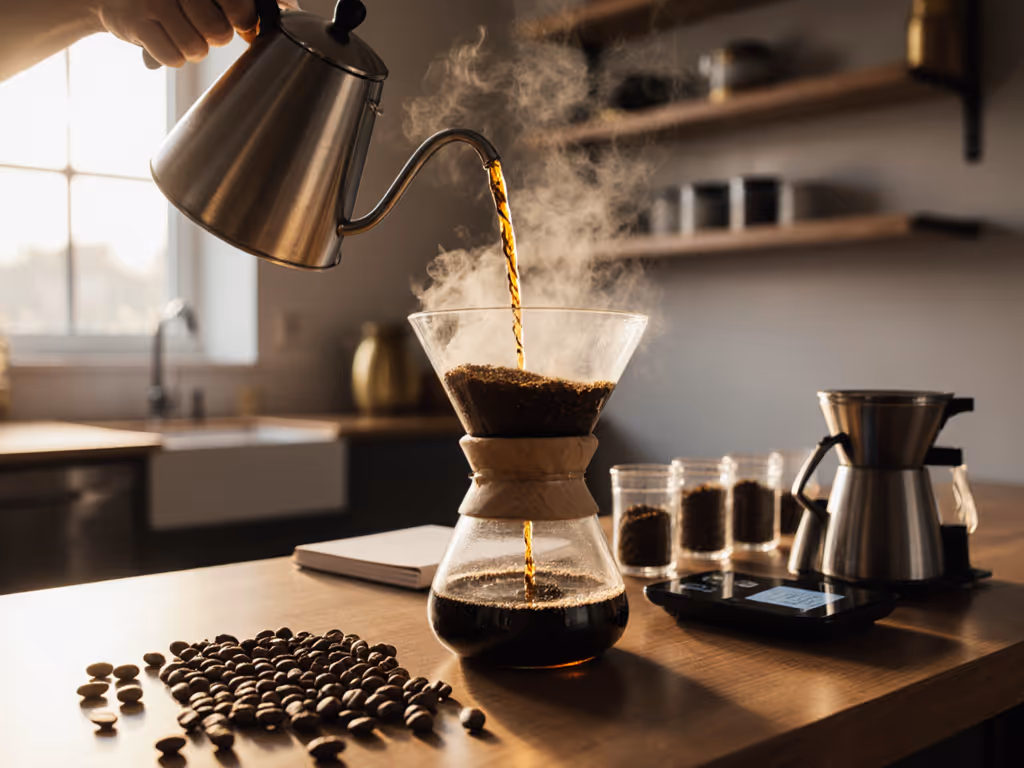
Step 4: The Main Pour Technique
Competition baristas use complex pour patterns, but for home brewing, focus on these three principles:
- Consistent Flow Rate: Aim for 2-3 grams of water per second (like a thin pencil lead stream)
- Center-Outward Motion: Start pouring in the center, then slowly expand outward
- Steady Water Level: Maintain about 1 cm of water above the coffee bed
Forget concentric circles or fancy patterns; just pour steadily in a small spiral while keeping your hand stable. The goal isn't visual flair; it's consistent extraction.
Step 5: Timing Is Everything
The total brew time is your canary in the coal mine for extraction issues:
- Too short (<2:30): Under-extraction warning; your grind is likely too coarse
- Just right (2:30-3:30): Target zone for most home setups
- Too long (>4:00): Over-extraction warning; your grind is likely too fine
Use your competition coffee scale timer to track this. Don't worry about hitting an exact time; just know whether you're consistently in or out of range.
Tasting Your Way to Better Coffee
Competition baristas taste methodically, but you don't need a flavor wheel to improve. Use this simple framework:
| Taste Issue | Likely Cause | One Small Fix |
|---|---|---|
| Sour/harsh | Under-extracted | Coarsen grind slightly |
| Bitter | Over-extracted | Fine-tune pour rate (slower) |
| Hollow/weak | Inconsistent extraction | Check bloom timing |
| Flat/dull | Water issues | Try filtered water |
Don't brew blindly expecting improvement. Taste deliberately: first sip hot, second sip cooled slightly. What's the first flavor that jumps out? That's your clue for what to adjust next.
Troubleshooting Common Issues
Problem: My coffee tastes different each morning
Solution: Standardize your water first. Use the same source daily (filtered, tap, or bottled) and measure it precisely.
Problem: My pour-over takes too long on weekday mornings
Solution: Simplify your ritual. Skip preheating the carafe, use a consistent grind setting, and master a single pour pattern.
Problem: My coffee tastes bitter even with the same recipe
Solution: Your bloom might be too short. Extend it to 45-60 seconds for fresher beans. For more fixes to sour, bitter, or weak cups, see our pour-over troubleshooting guide.
Problem: I waste too many beans dialing in new coffee
Solution: Make micro-adjustments. Change only one variable at a time (grind, dose, or pour), not all three.
Your Actionable Next Step
Don't try to overhaul your entire routine tomorrow. Instead, pick one small change that addresses your most frustrating issue:
- If water is inconsistent: Use the same water source for 7 consecutive brews
- If taste varies wildly: Measure your bloom water precisely (twice coffee weight)
- If timing is all over the place: Practice your pour rate with plain water first
Track just one variable for a week. Notice any difference? That's your confidence builder. One small change, noticeably better.
Mastery doesn't demand perfection; it starts with one controllable change and honest tasting. The same principles that guide baristas on competition stages work beautifully in home kitchens. You don't need specialty gear to discover clarity, sweetness, and consistency in your cup. You just need to start where you are, make one small adjustment, and taste the difference.
Start tomorrow morning with just one change. Then come back next week and make another. Before you know it, you'll be brewing coffee that rivals what you'd pay $6 for at a café, all with the gear you already own.
Related Articles